¶ General
To use jobs, the customer must have a datasource and jobs have to be enabled when creating a ds or by the tech team.
Jobs are campaigns that are sent periodically. You can set the parameters for the job in the tab Jobs:
¶ How to create a job
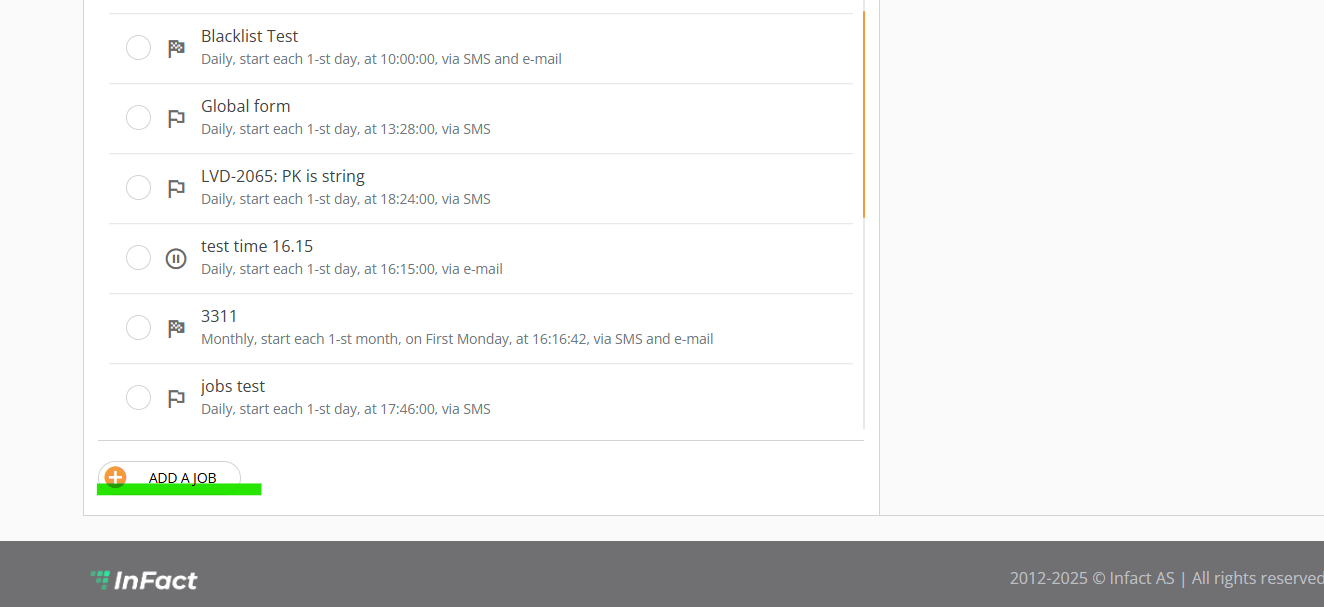
¶ Click Add a job under the Job section
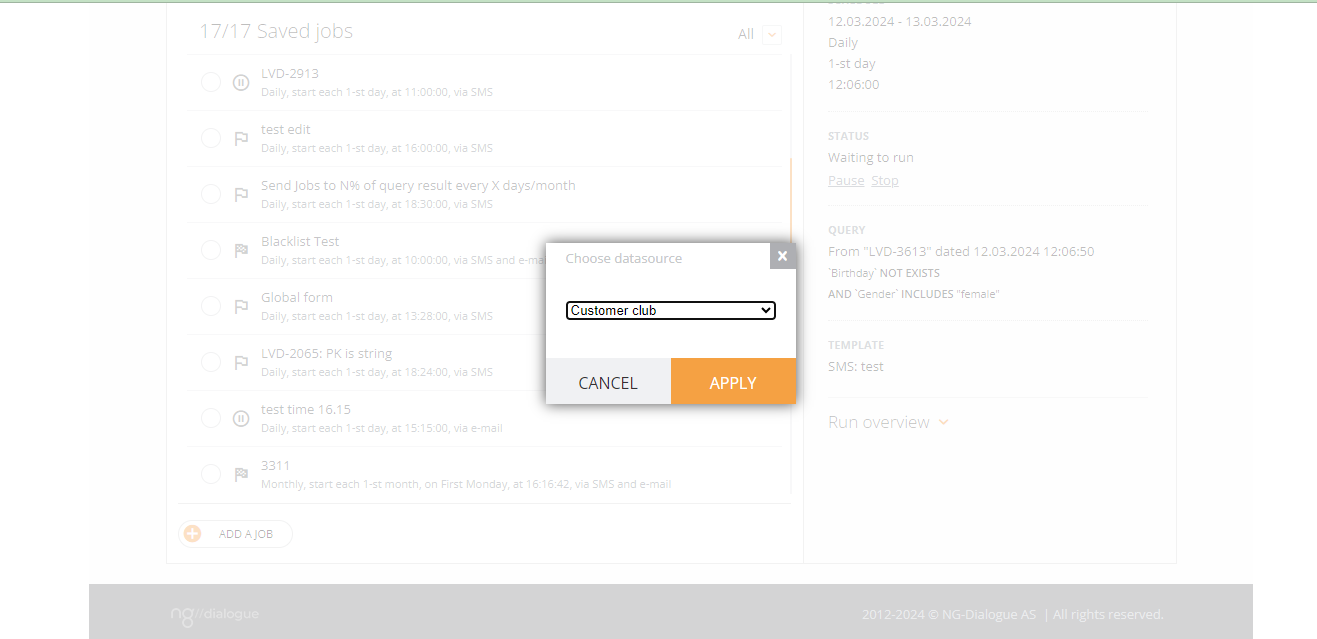
Once you've clicked Add a job, you can choose the datasource:
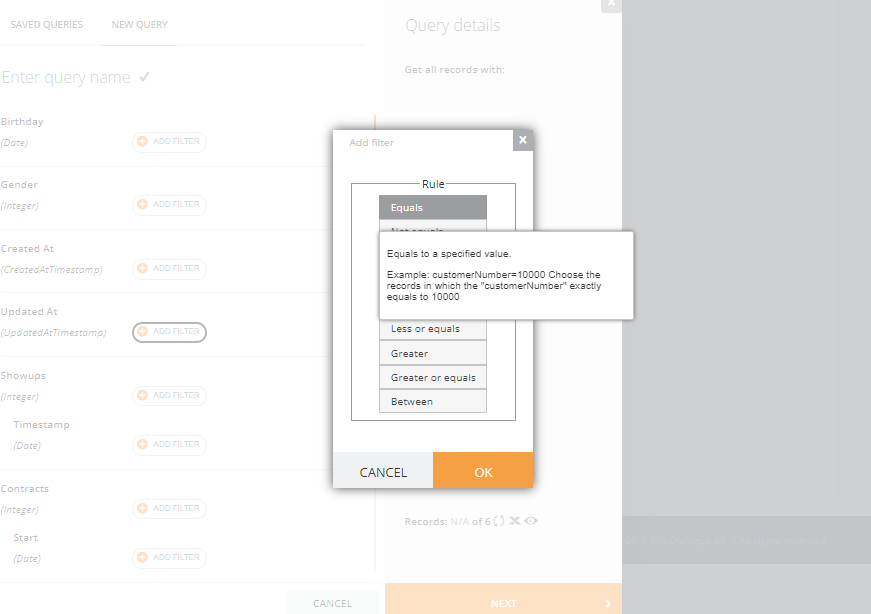
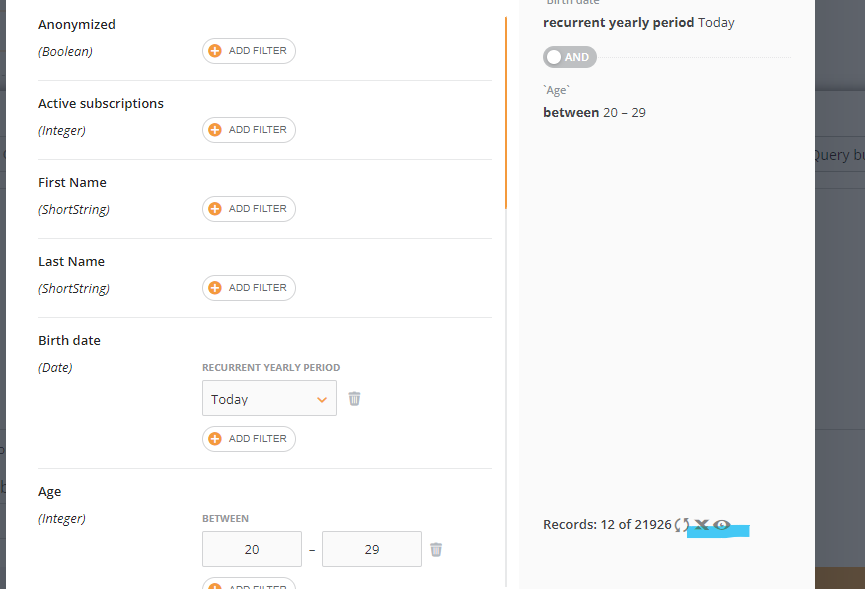
After that, create a query:
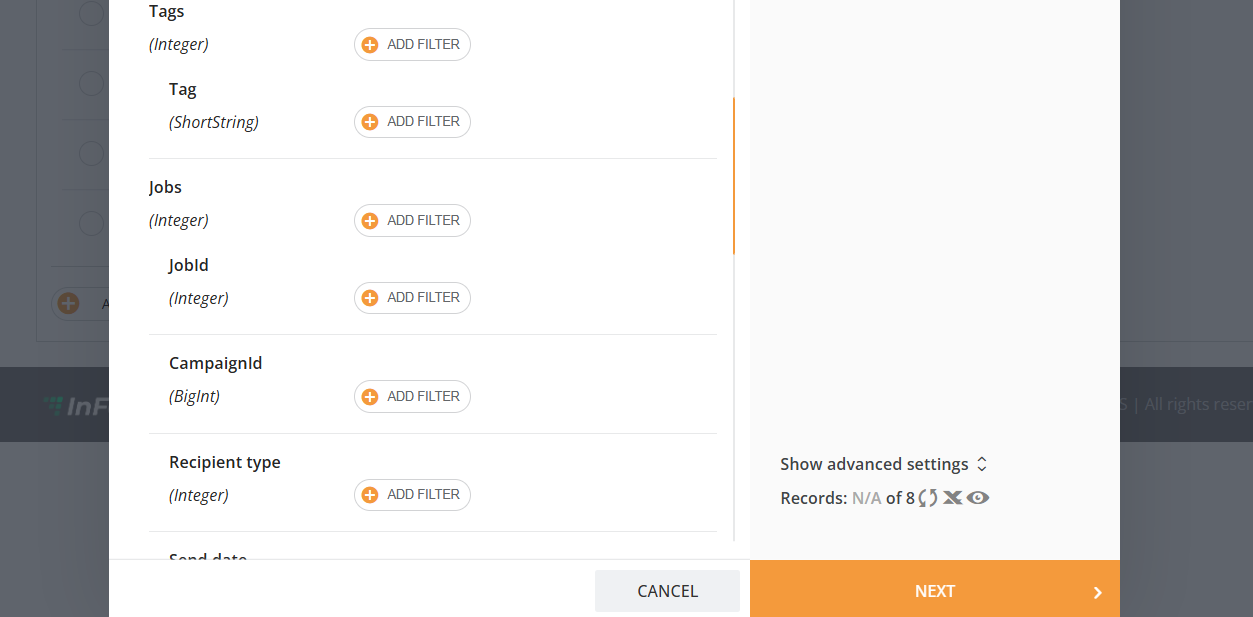
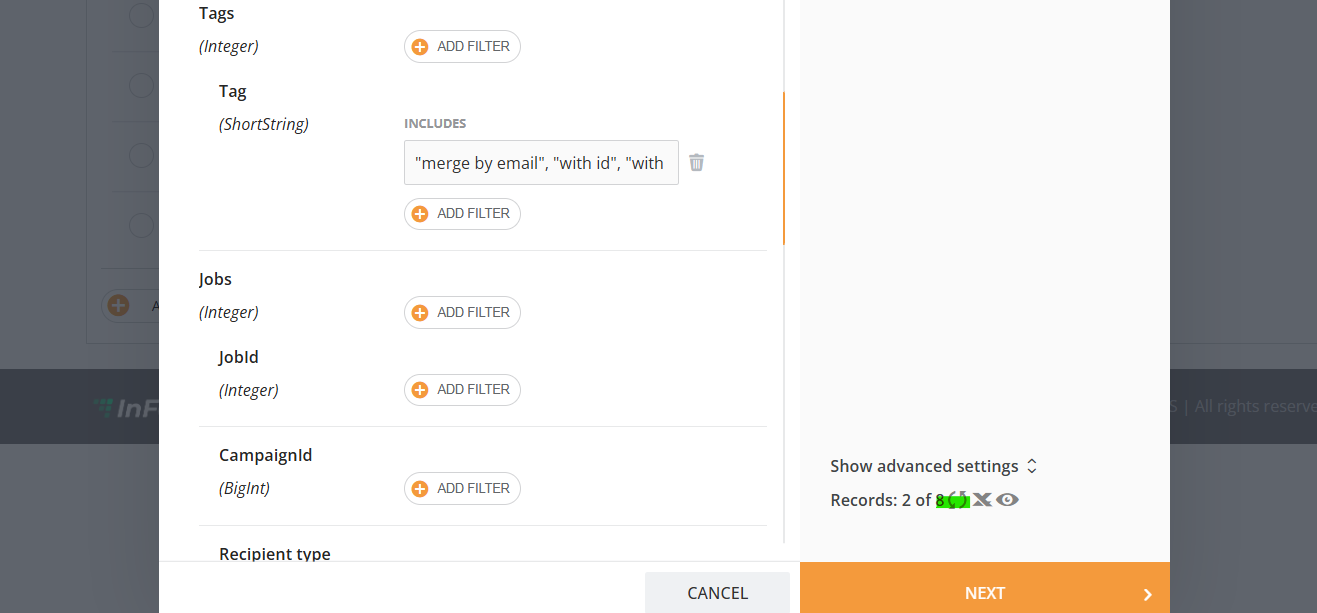
A query is a combination of filters that you use to select a specific group of recipients from your datasource to receive the job. For example, people who have a birthday in the upcoming week.
Every time you apply a new filter, please click this button to see how many recipients it has selected.
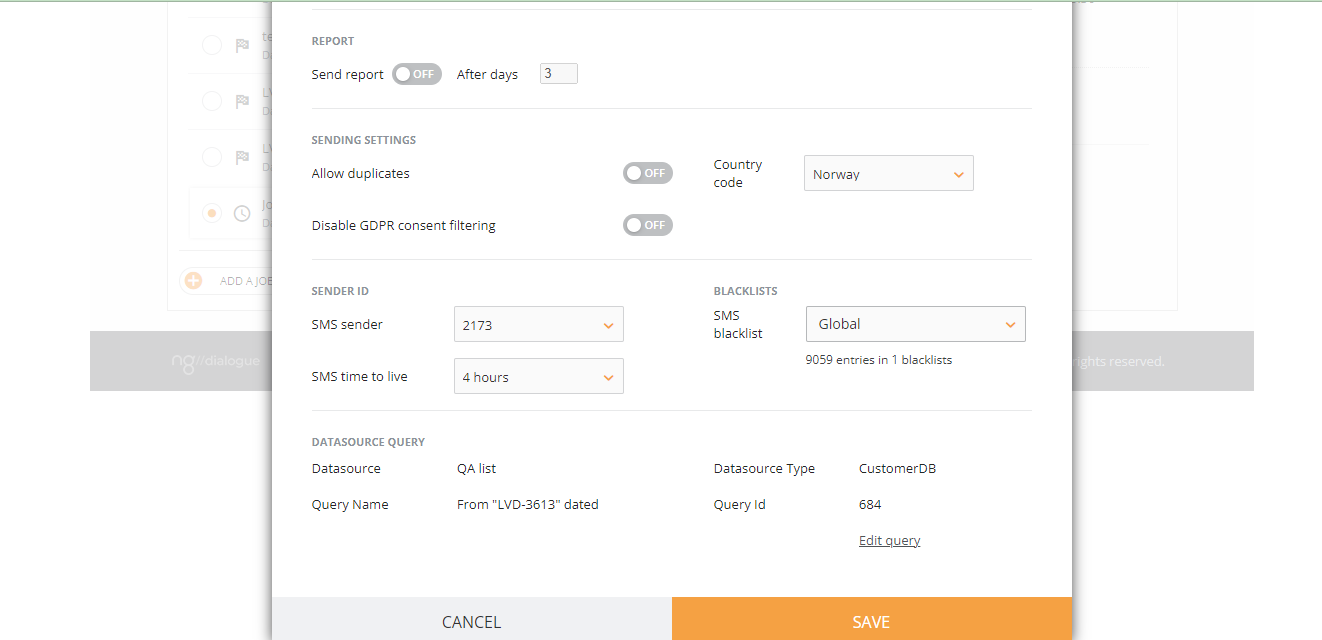
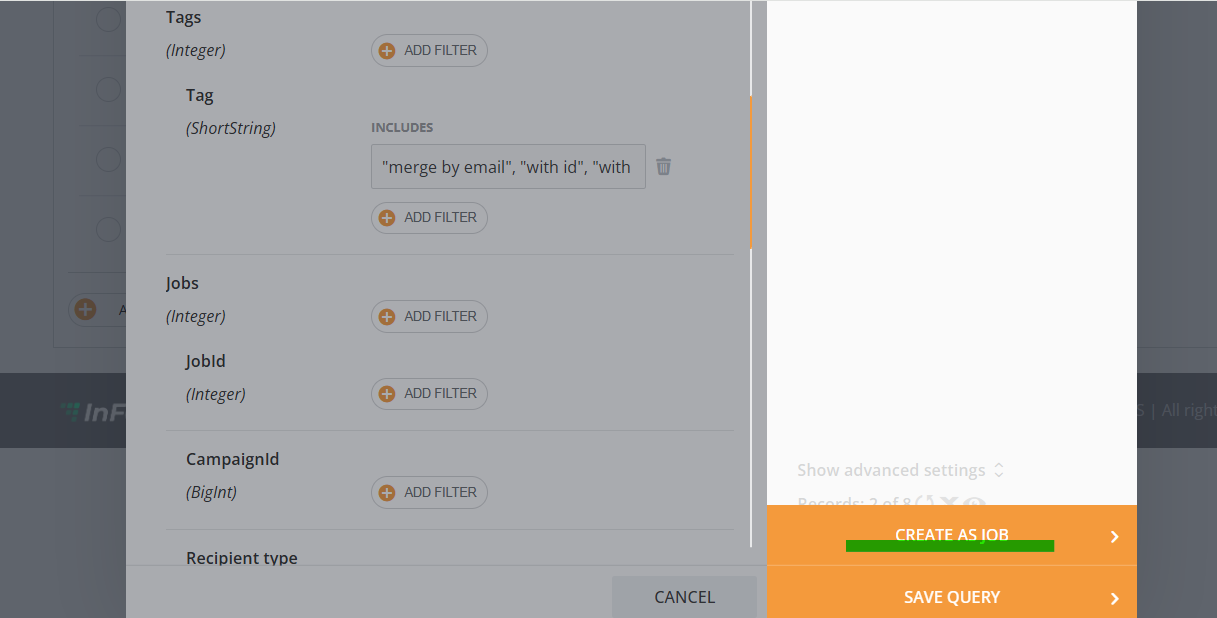
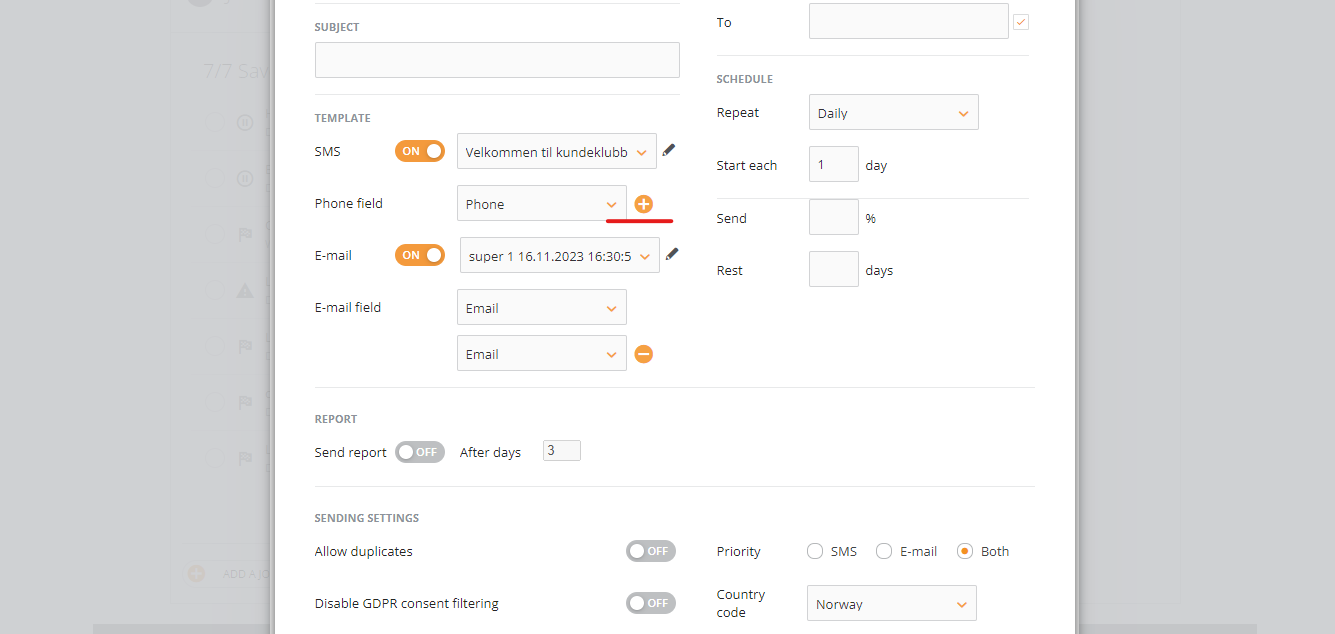
To continue, click Create as a job and fill out other settings:

Send means Send Jobs to N% of query results every X days/months. If left empty, the default value is 100%.
In this step, you need to write the name of the job, subject, choose campaigns you've created previously, map phone and email fields, and set a schedule.
Now we also support more than one phone/email field:
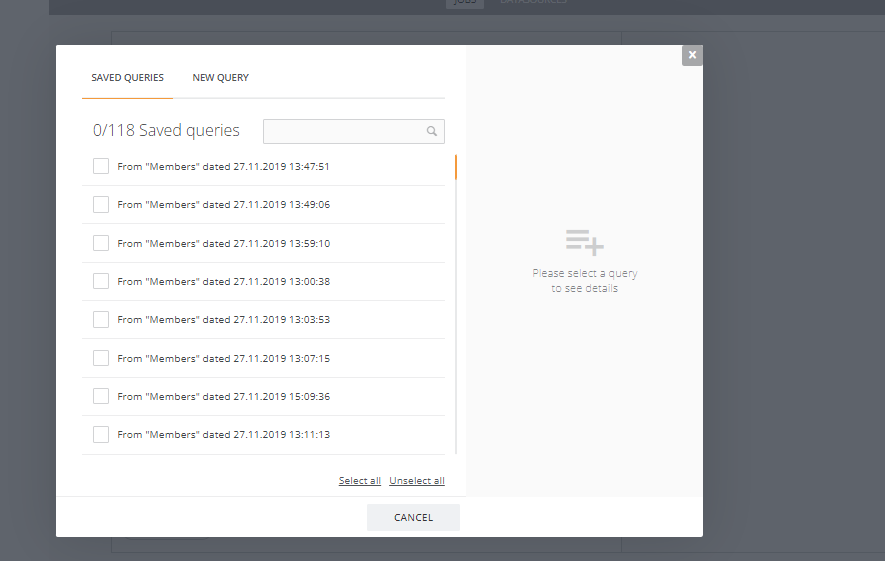
You can also pick the query from Saved:
¶ If you are unsure about the filters you have used, you can always check the results via the “Excel” and “View” buttons:
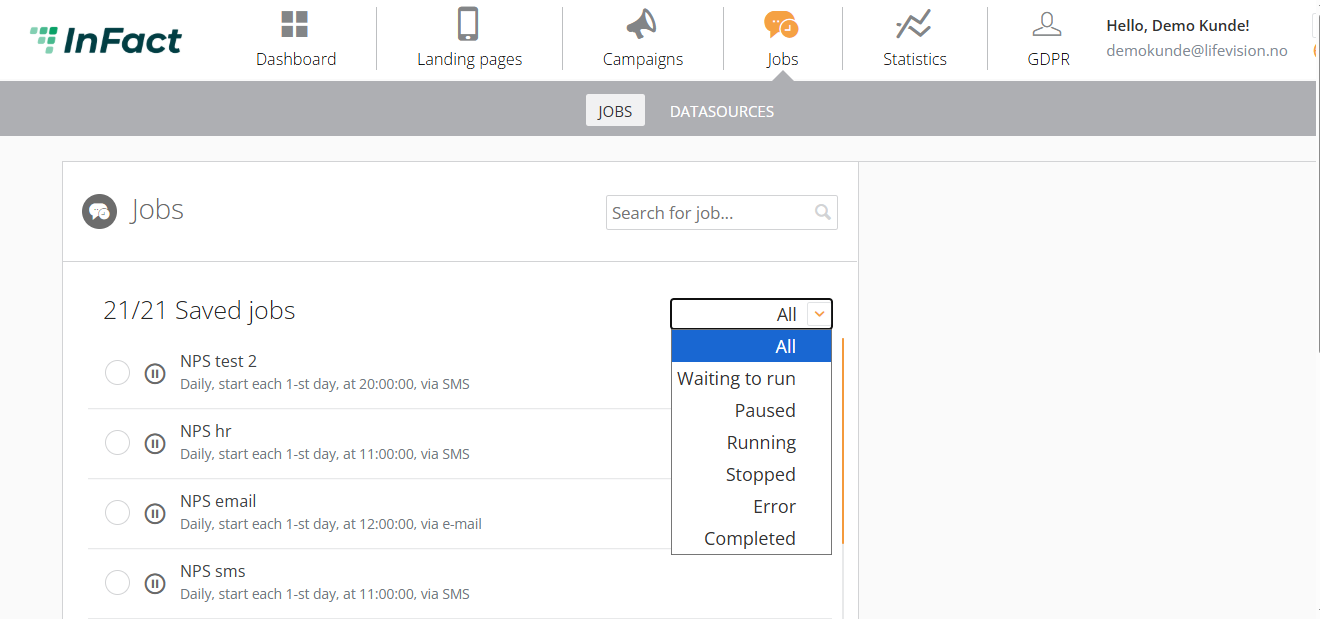
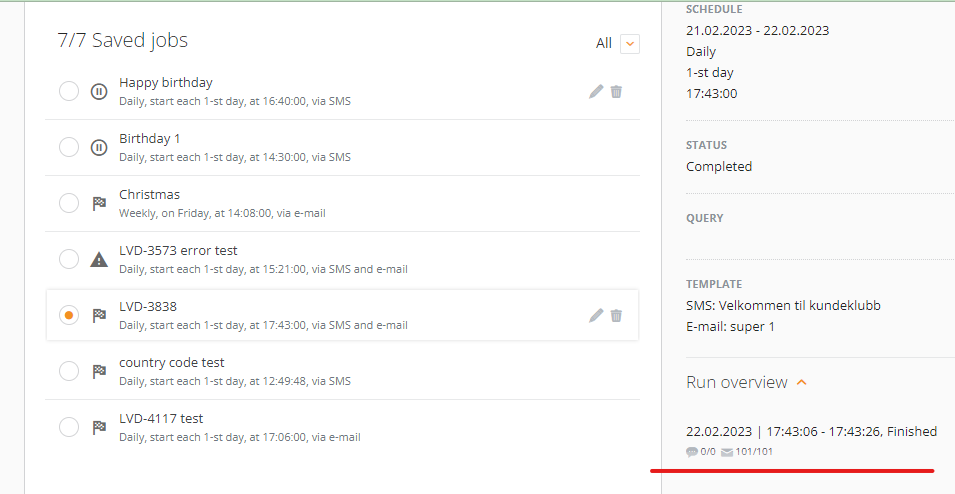
¶ Job Statuses
Once a job is created, it can be:
- Edited
- Deleted
- If it is on pause, it can be resumed or stopped

If it has been stopped due to an error, it can be:
- resumed
- stopped
- error (show error)
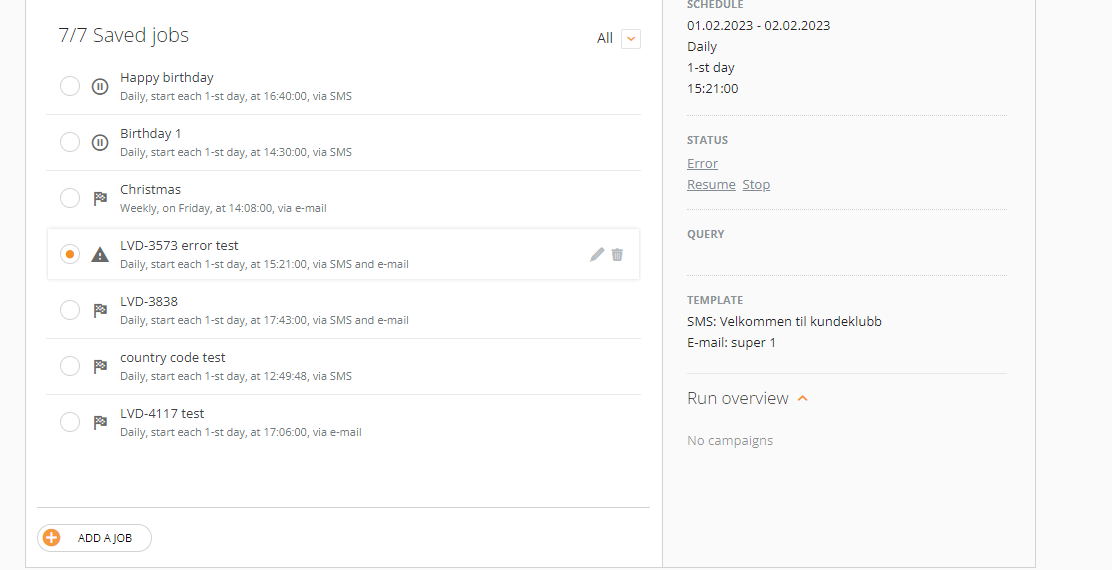
If the job is completed, it can be:
- Edited
- Deleted
- You can see its overview
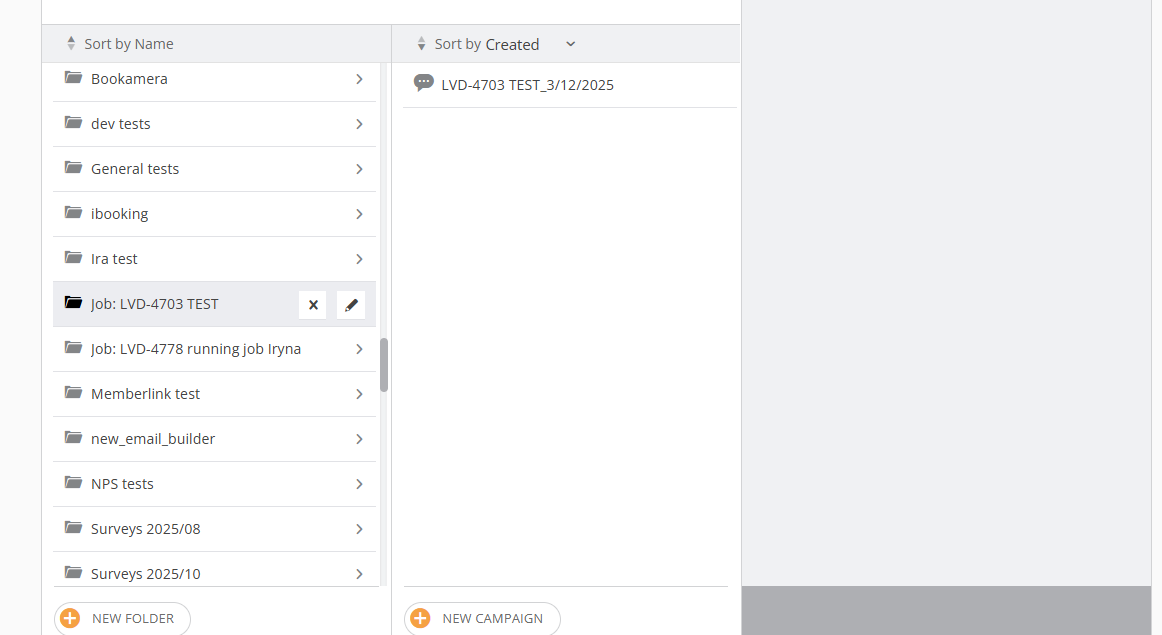
When the campaign is sent, it is saved in Campaigns / Job: Job's name folder:
¶ Edit Query of Existing Job
Click “Edit Query” button to change applied filters