¶ How to create a campaign
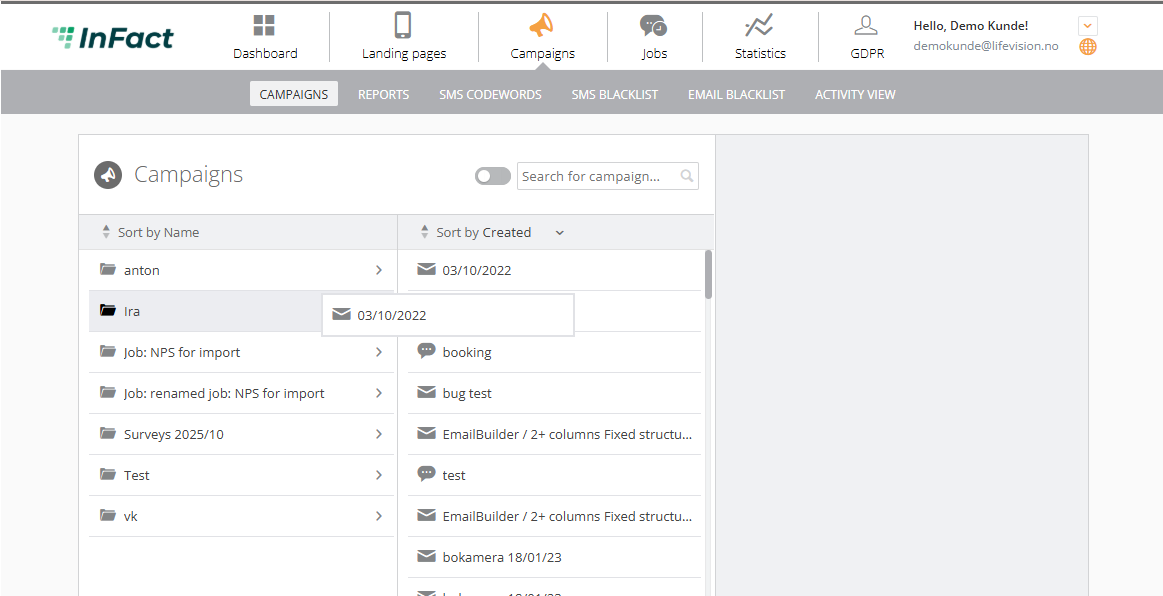
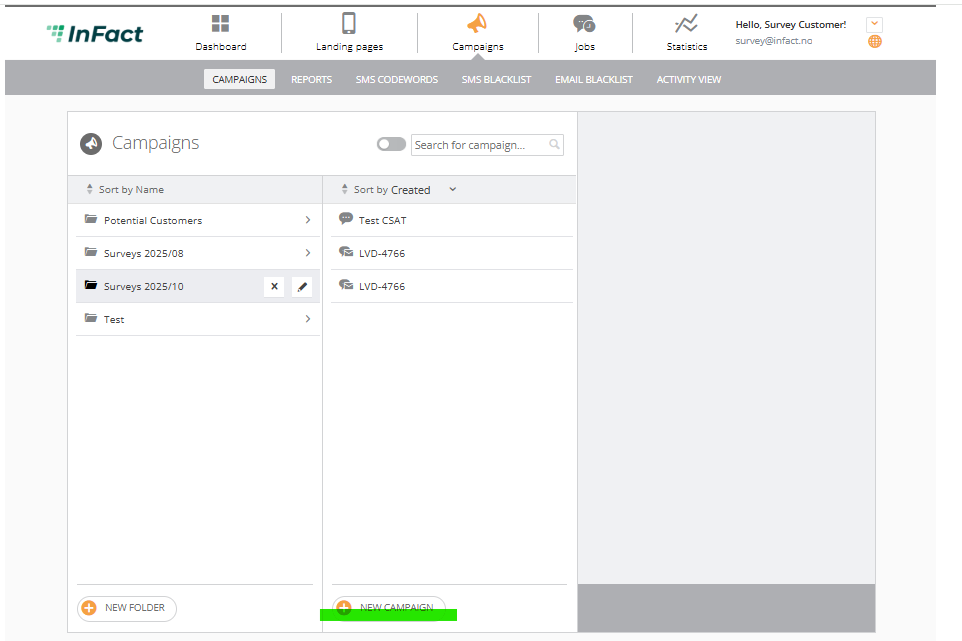
In the campaigns tab, choose an existing folder or create a new one where your campaign will be placed. With pressing ‘new campaign’ button, the dialogue of creation appears:
NB! Please do not refresh the page while you are creating your campaign
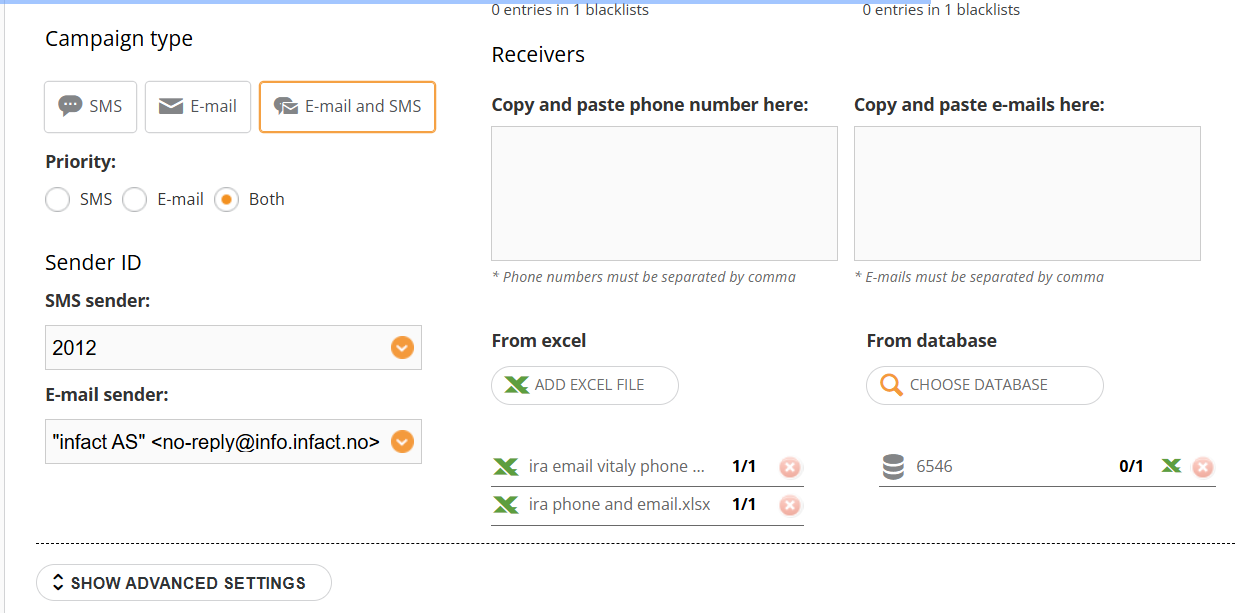
¶ 1. Type & Receivers
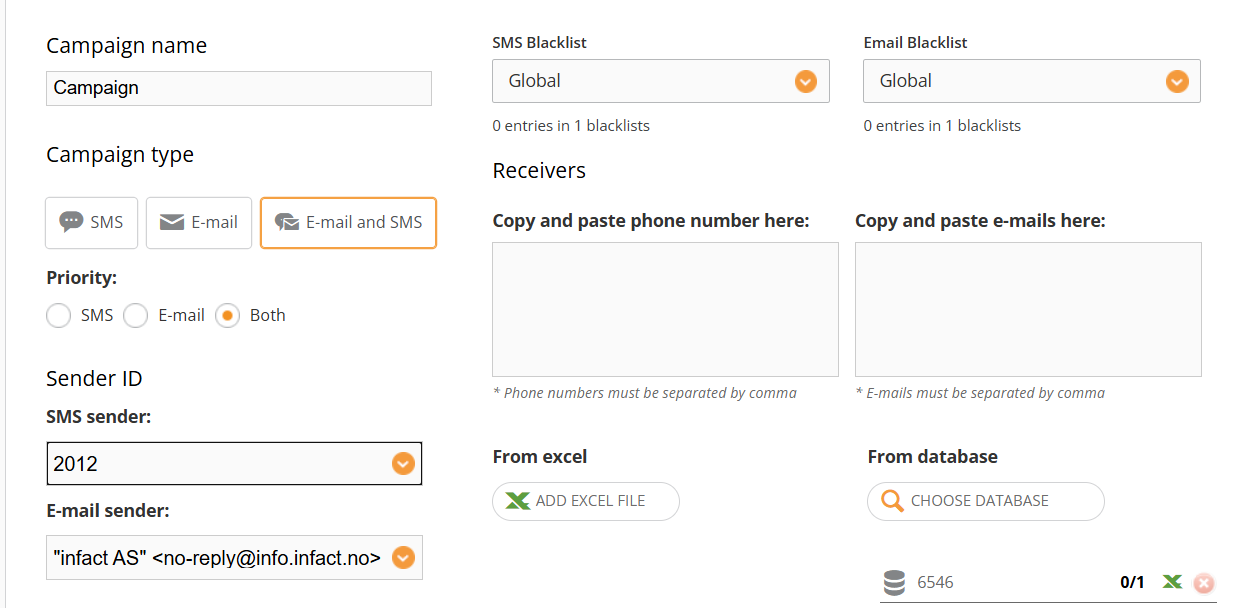
¶ First of all, you need to choose a campaign type
- SMS Campaign sends SMS to the customers' phone numbers
- Email Campaign sends Emails to the customers' email addresses
- E-mail and SMS send both e-mails and SMSs
If you choose the third type of campaign, you can also set a priority (SMS, Email, or both). The default setting is both, which means that your customer receives both email and SMS. In case the SMS priority is chosen, the customer receives SMS if he has a phone number in their member's data and they receive email only if there is no phone number. With the Email priority, the customer receives SMS only in case there is no email address in their member's data.
F.A.Q.: If you send a combined campaign (both SMS and E-mail) and E-mail is the first priority: If an E-mail address is bouncing, will the system choose to send an SMS?
- No. The system wouldn't send an SMS in this case, because it decides what it should send (SMS or Email) before we can find out that email is bounced.
Input campaign name, check the Sender ID and blacklist and input the receivers of your campaign. There are three ways to do this:
¶ Receivers
¶ Manual Input
To add phone numbers or email addresses manually, you should enter or copy numbers to the field separated by a comma. This case is usually used mostly for testing your campaigns.
1. Make sure the country code is correct. Please check this article regarding SMS campaign and phone data.
2. Upload an Excel file:
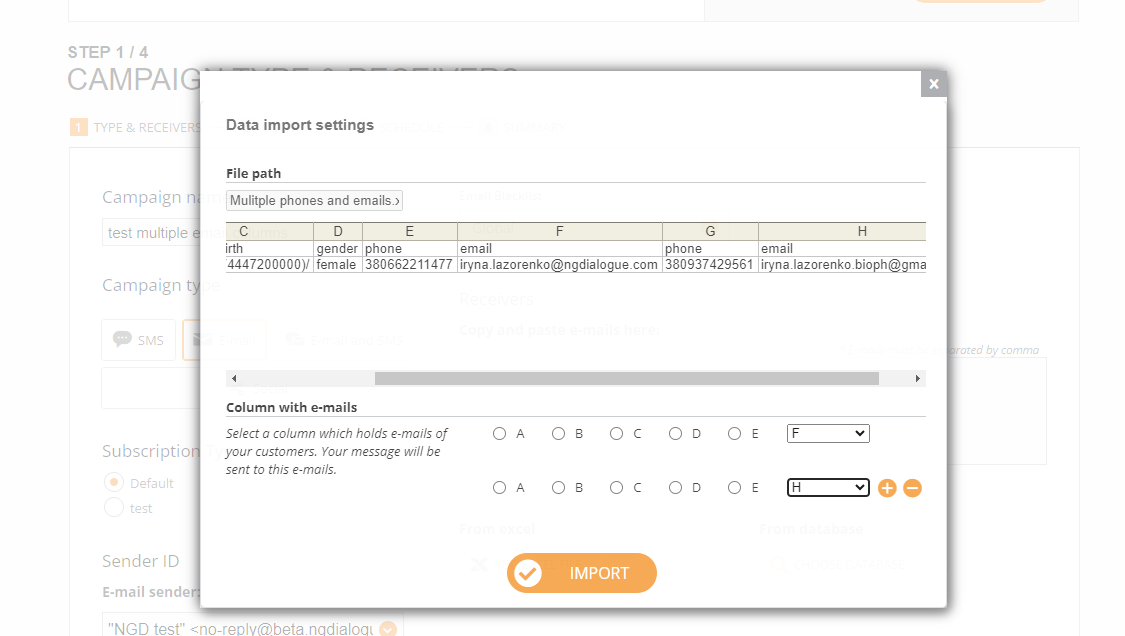
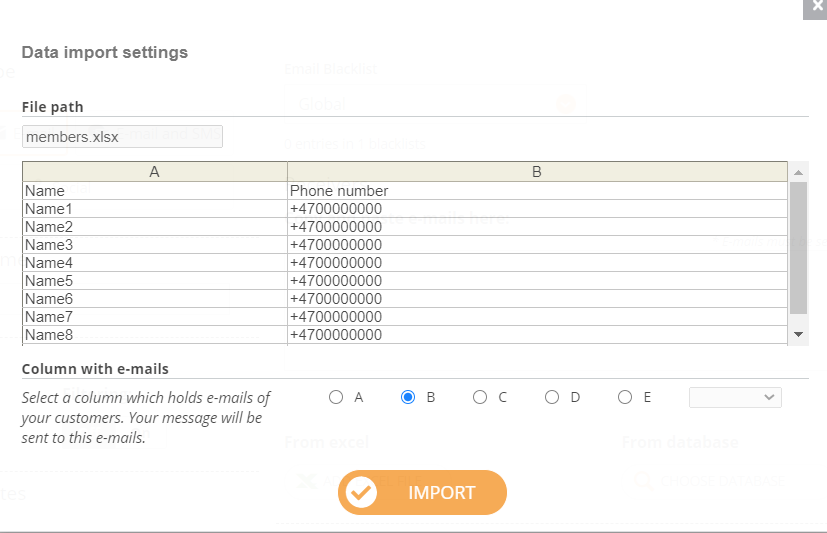
3. Choose a column with phone numbers or e-mails and press the ‘import’ button.
¶ From database
Press ‘Choose Database’ button and in the upper left corner click on drop-down and choose Datasourse queries
¶ Click “from datasource”

¶ Choosing a datasource

¶ Filter your recipients

¶ Refresh the list

¶ Select Apply

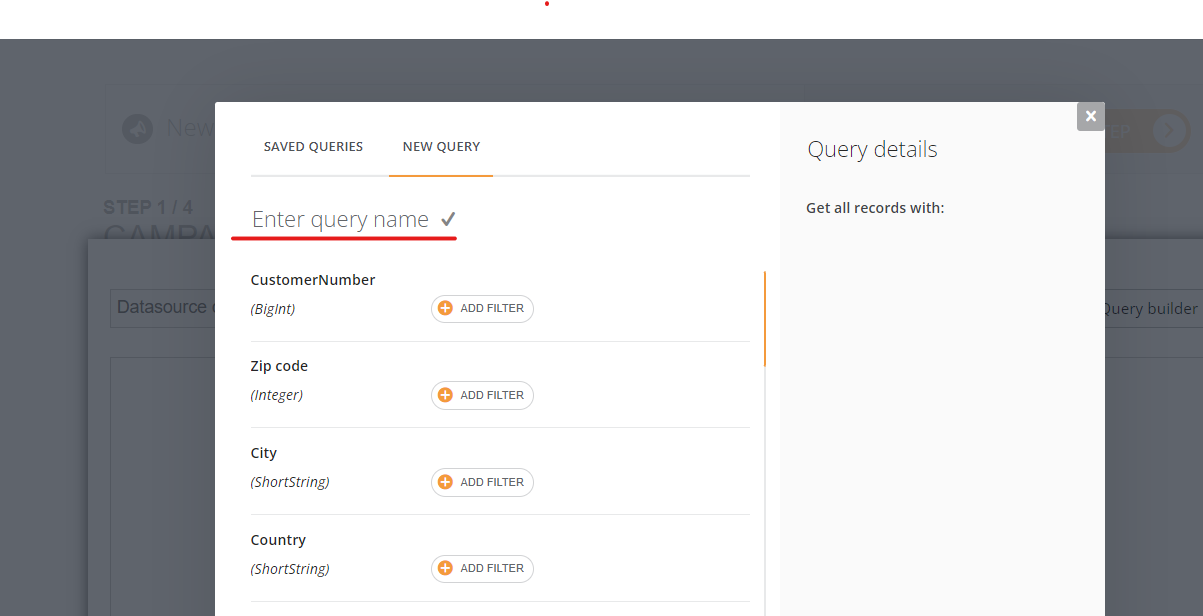
¶ To use Saved Queries
You can name your query, save and use later:
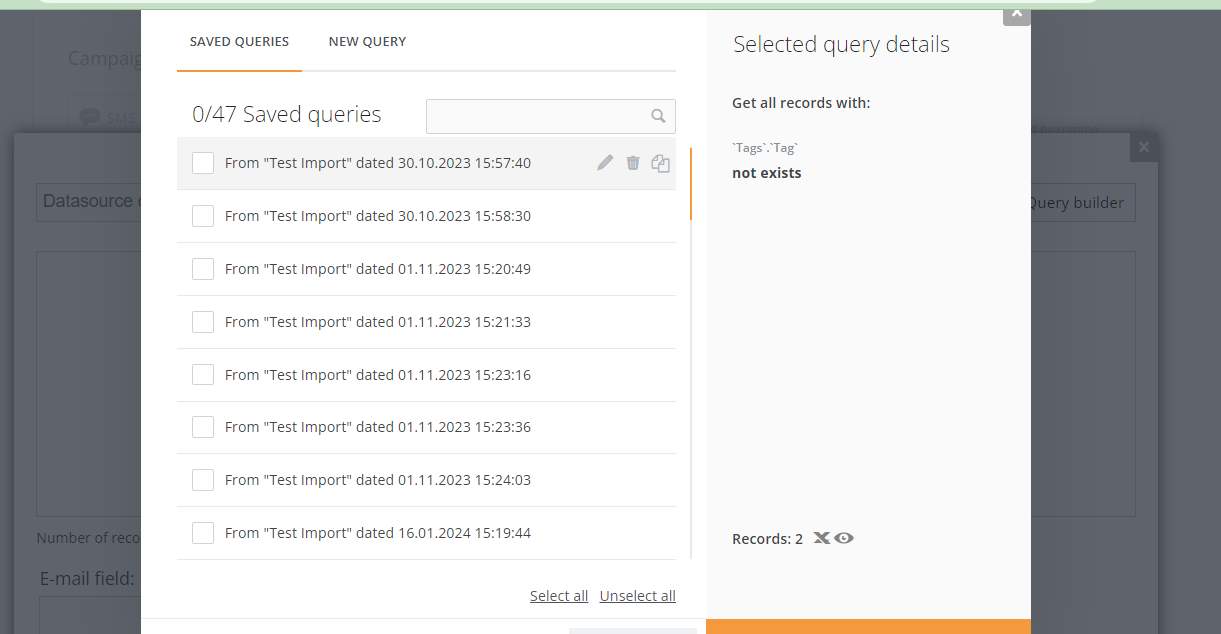
Here you can find all saved queries and also some that were created via API. To use the existing one, simply click on it:
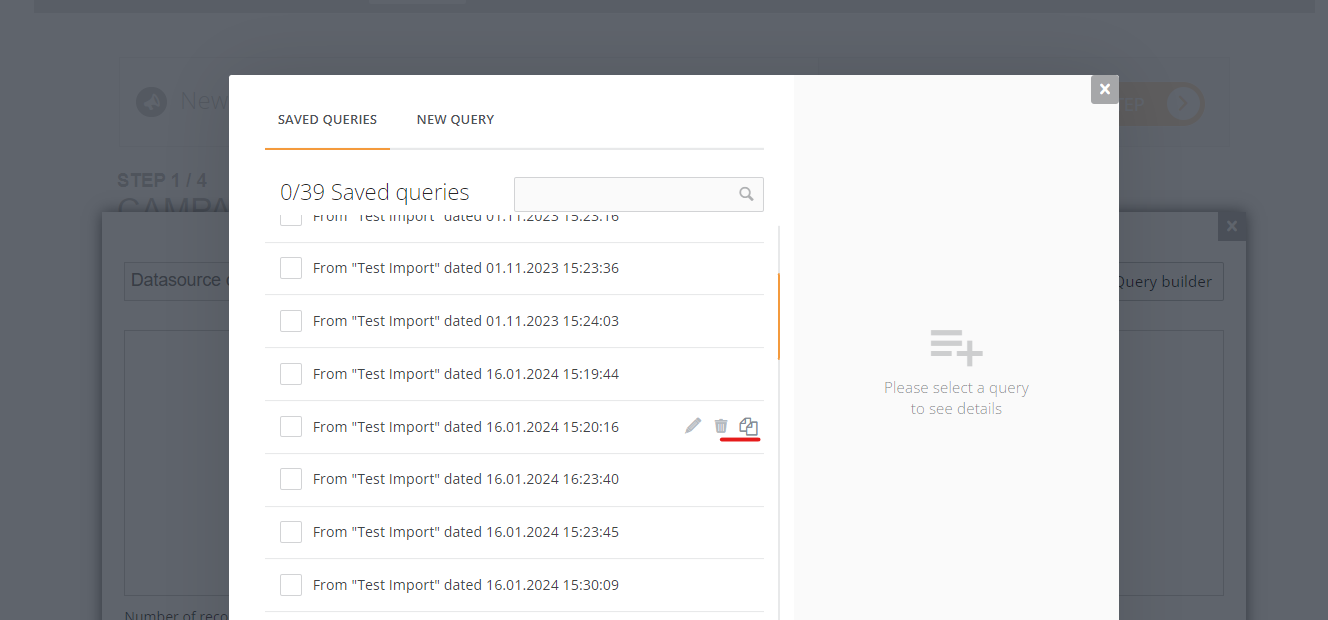
If you want to modify it, you can select it by ticking the box, and then you will see the options: edit the existing one, delete or copy (then you will be able to edit it). Please note that some of the queries created via API if copied via UI (via this tool on the screenshot), won't work properly!
¶ Press OK

Also, note that we can use a form or a landing as a datasource if you have data being stored there How to use a form as a datasource:

You can use more than 1 source for a campaign: input+excel+datasource or even more than 1 datasource (the same as database)
¶ Advanced Settings
You will need these settings in case you:
- Disable GDPR consent filtering - would like to disable consent system (possibly for testing). More on that in Campaign Wizard section
- Allow duplicates - then 1 recipient might receive the same SMS more than once
- Select Country code - if you are sending out an SMS campaign and have decided to enter data manually (see Manual Input), and you have phones that belong to recipients from other countries (your account has Norway in its settings and you are using Swedish phones, for example). You need to select the proper country from this list
- SMS Time to Live - allows you to set the time when we will try to send your SMS. For example, there has been an error with the SMS provider, and we have a 4-hour time period to try again

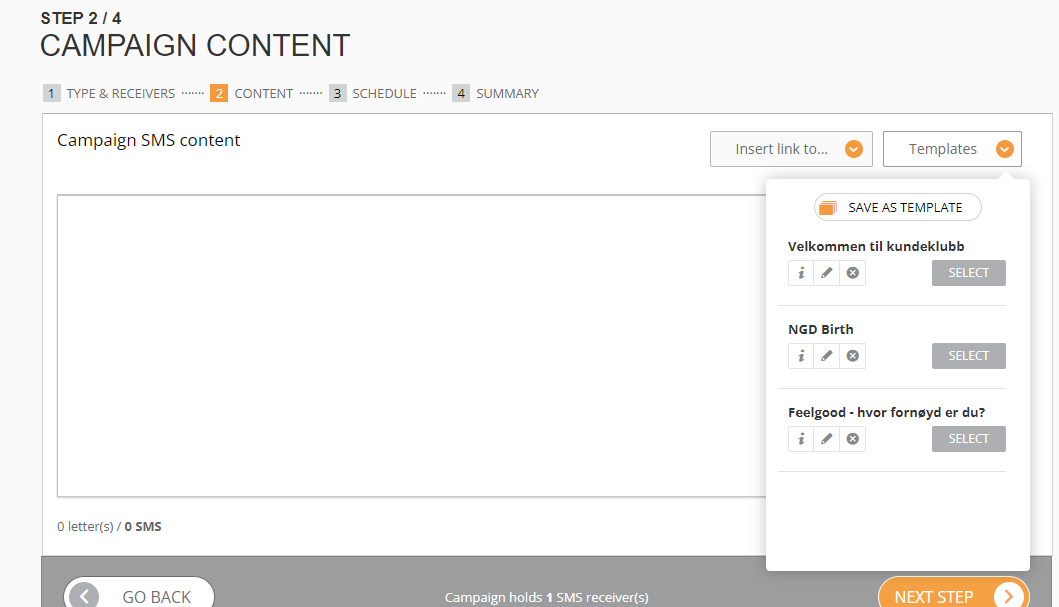
¶ 2.1 Content. SMS Campaign

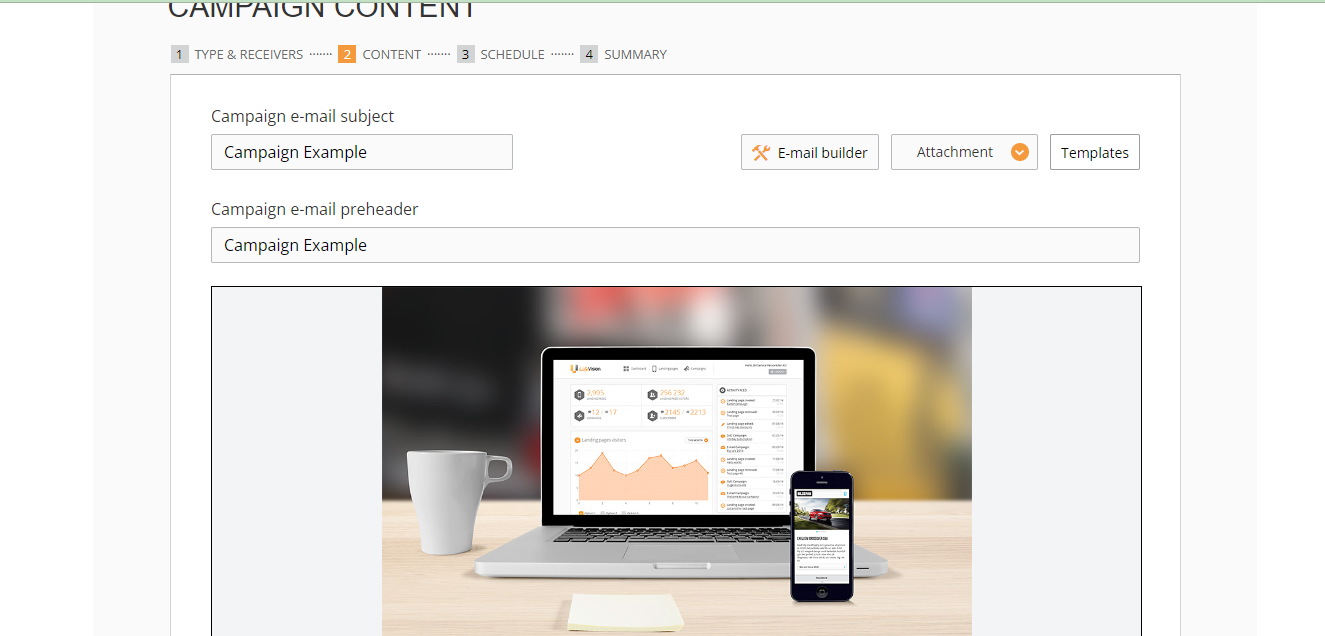
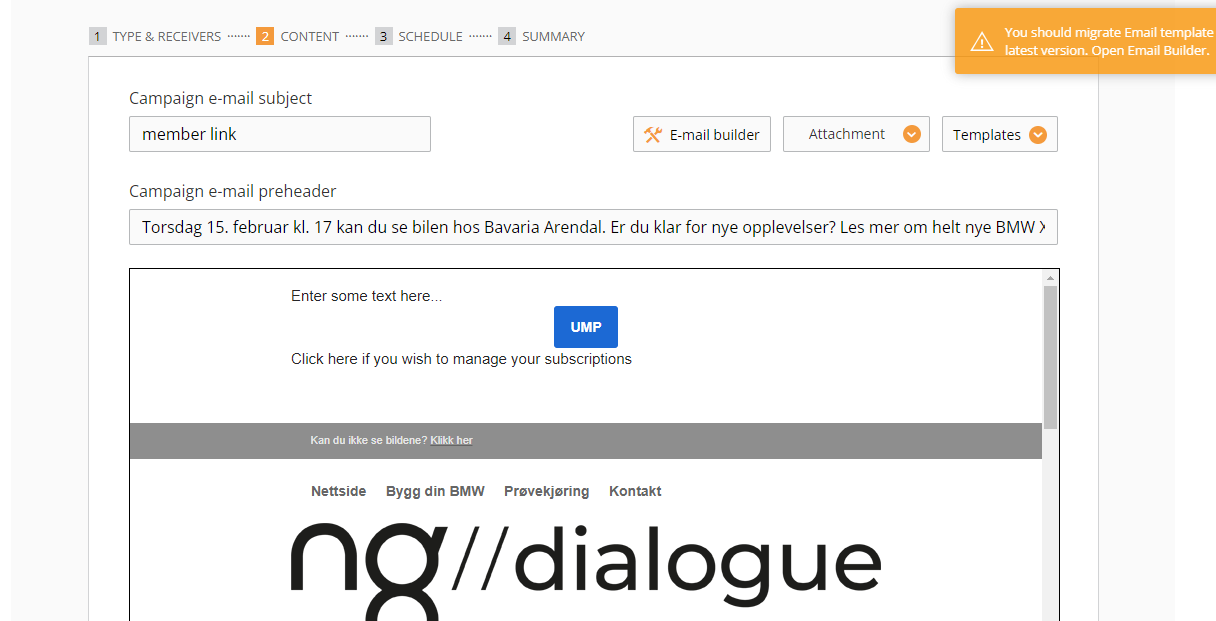
¶ 2.2 Content. Email Campaign
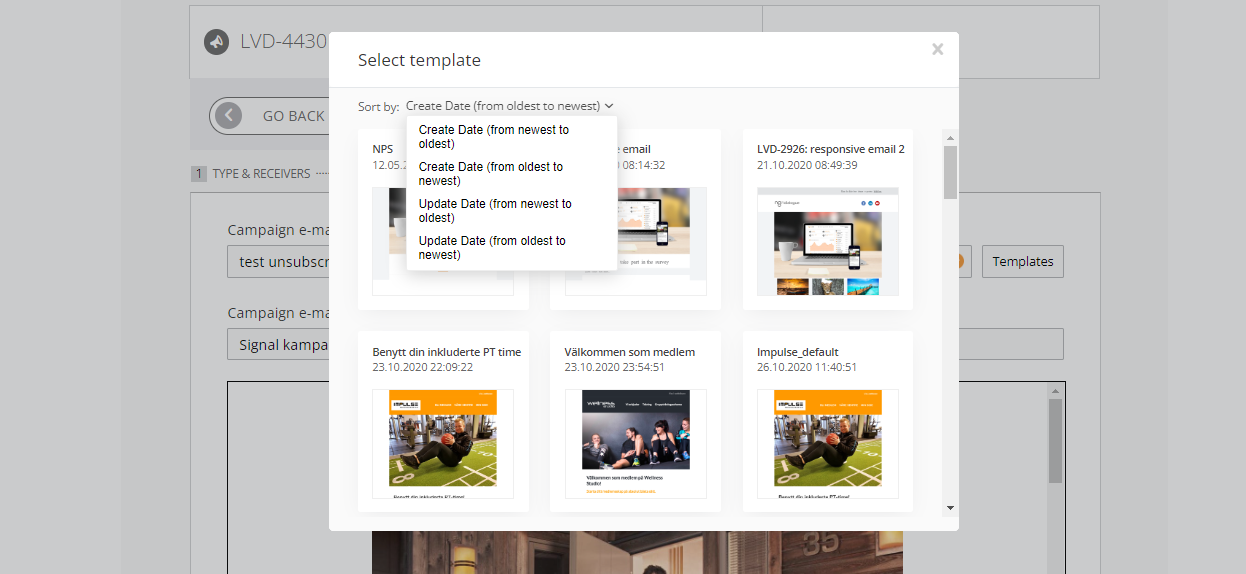
You can select a template:
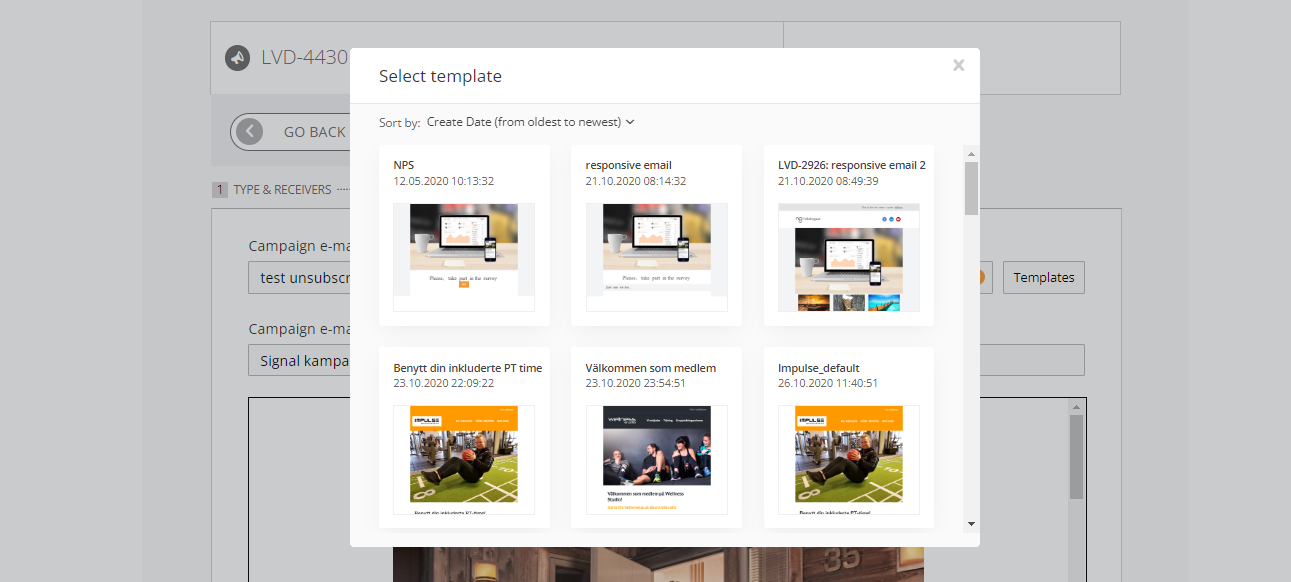
You can filter them by creation/update date:
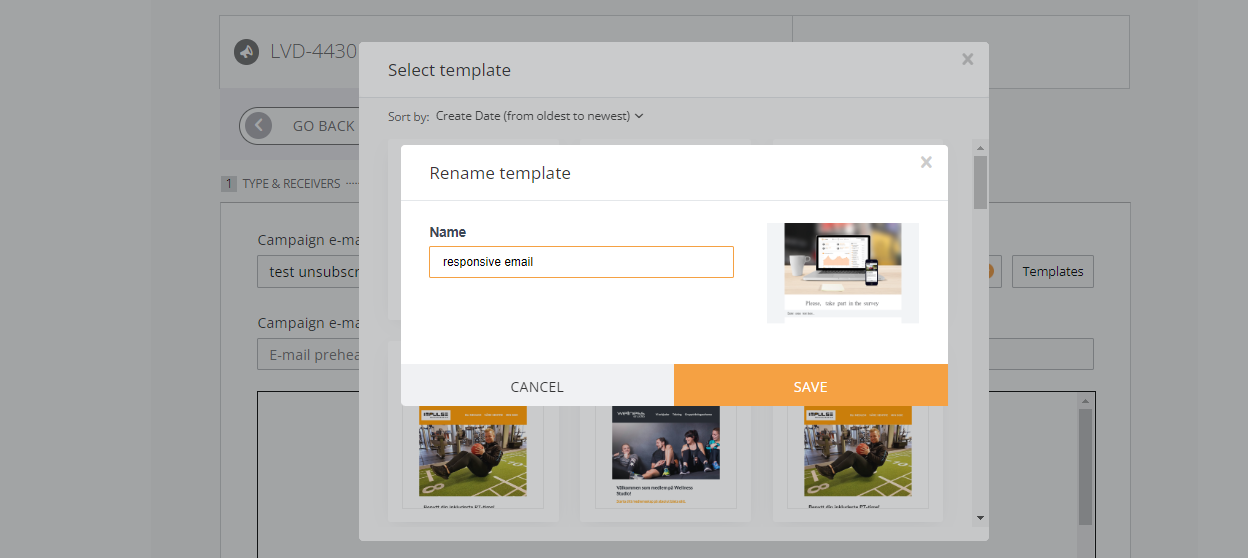
Rename:
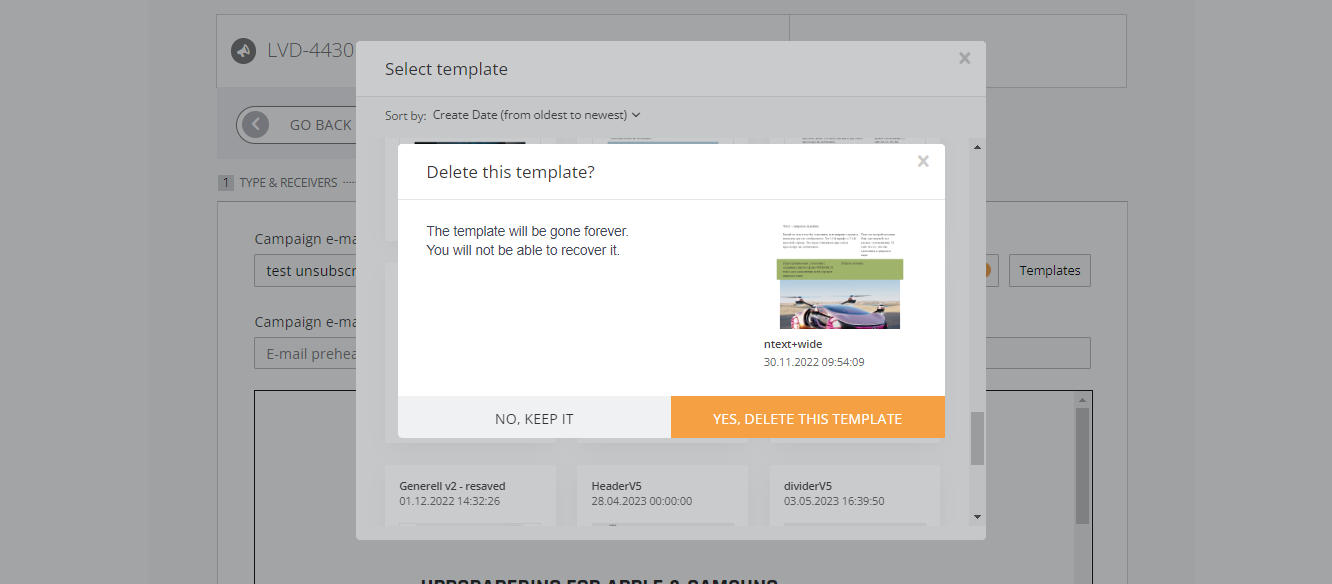
And delete:
You can click Email Builder and create a new one.
Read this article about Email Builder
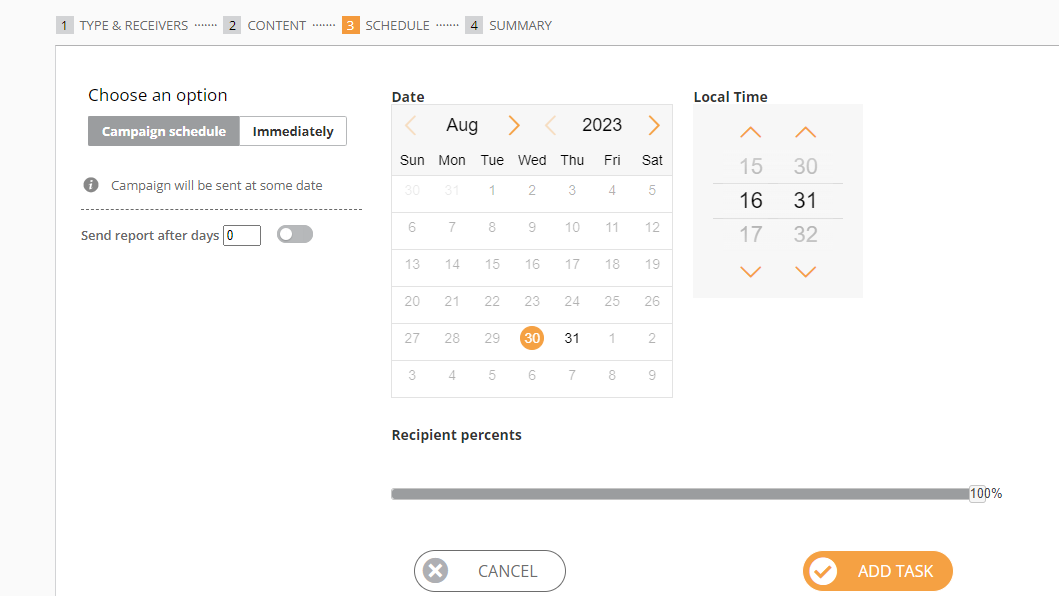
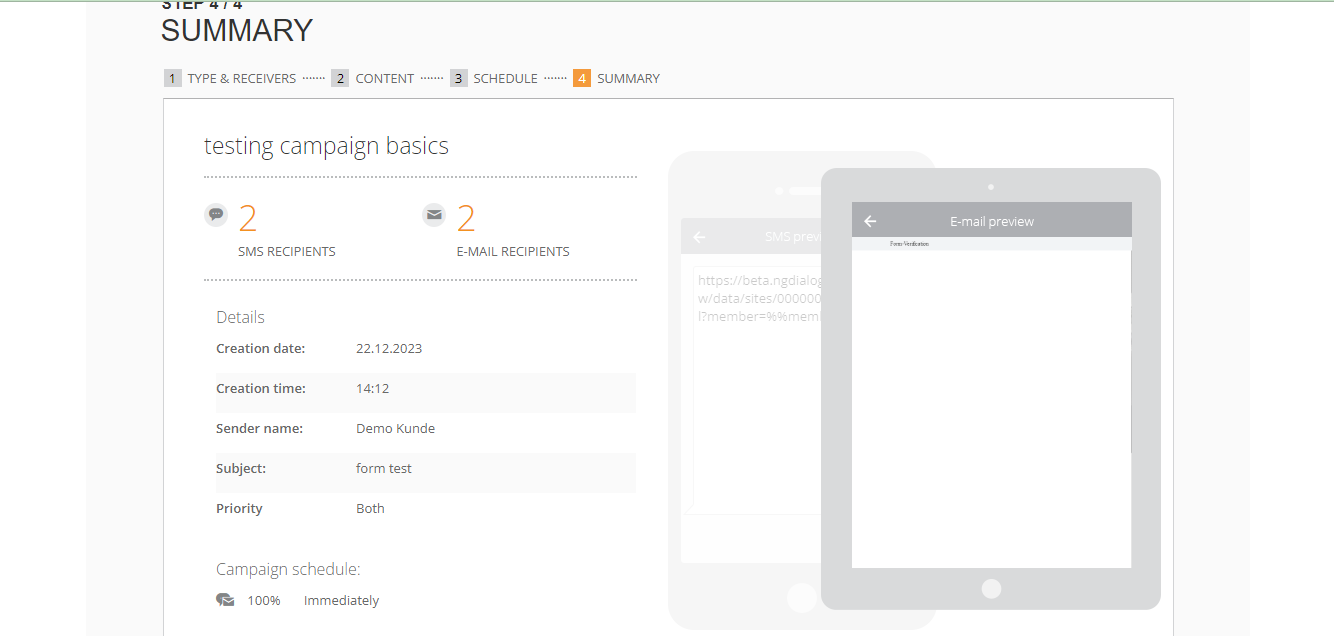
¶ 3. Schedule
¶ 4. Summary
This section shows all the final data, and then we press SEND
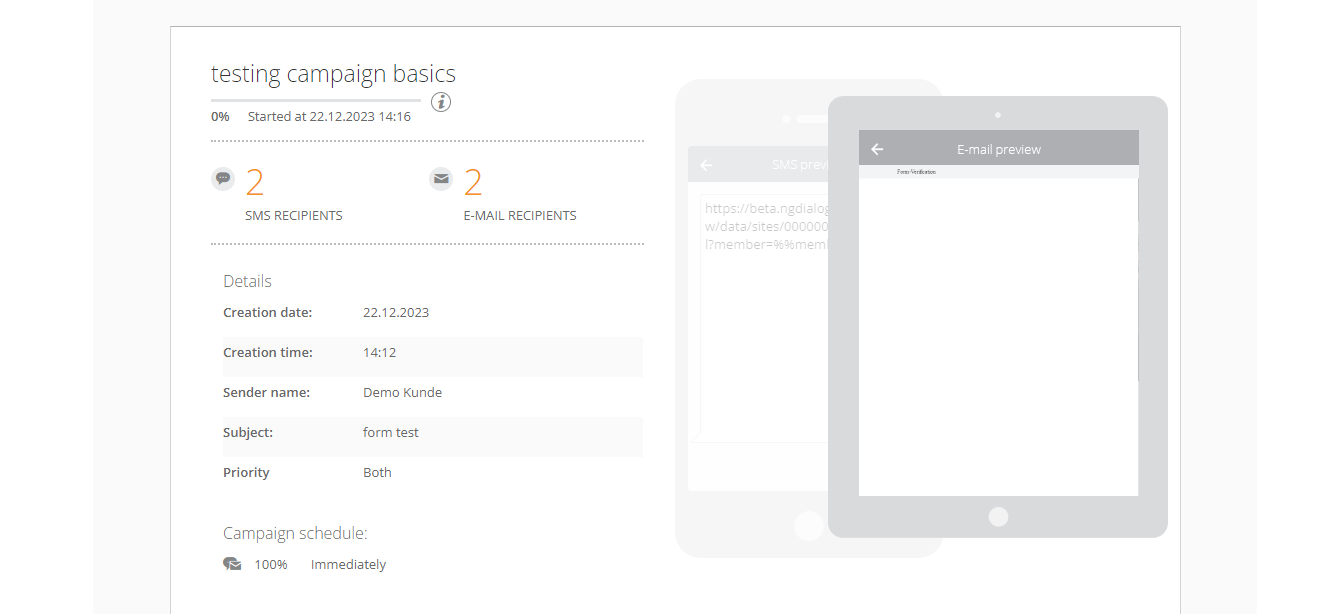
While the campaign is being sent, the status looks like “started”. You can already close this window or stay to see the status Completed
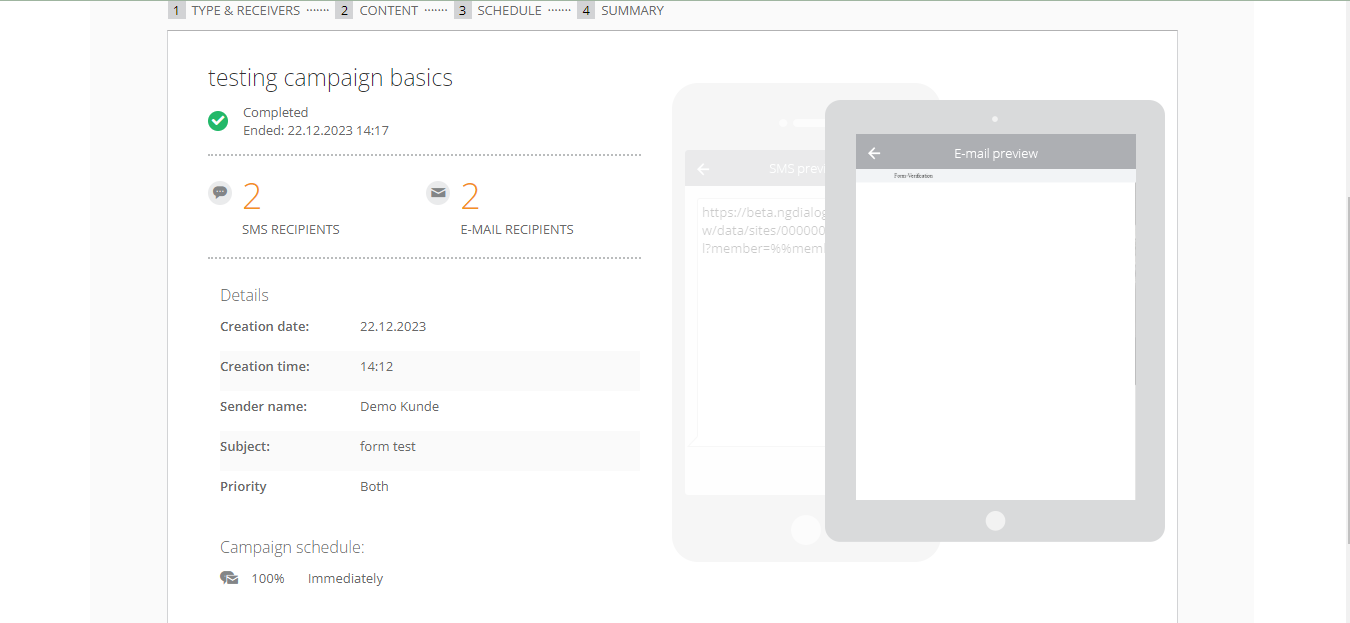
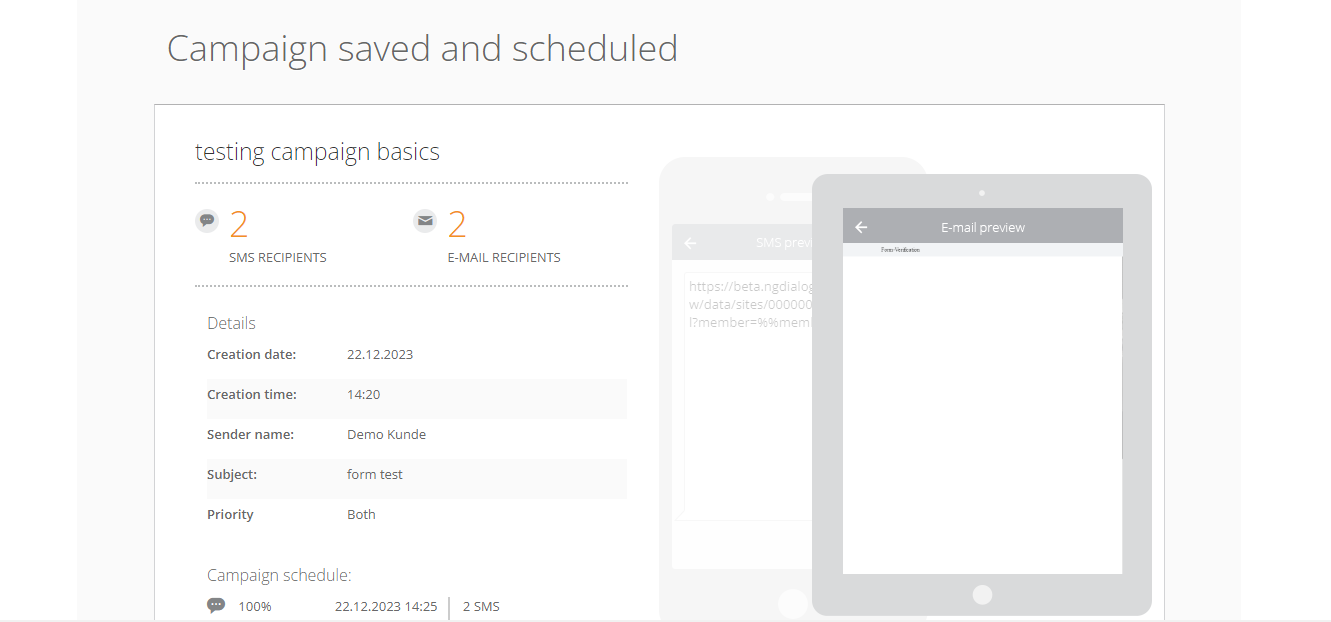
If the campaign has been scheduled, you won't see green tick until the campaign has been sent out:
More on campaign statuses and where to check them.
¶ More Email Campaign Features
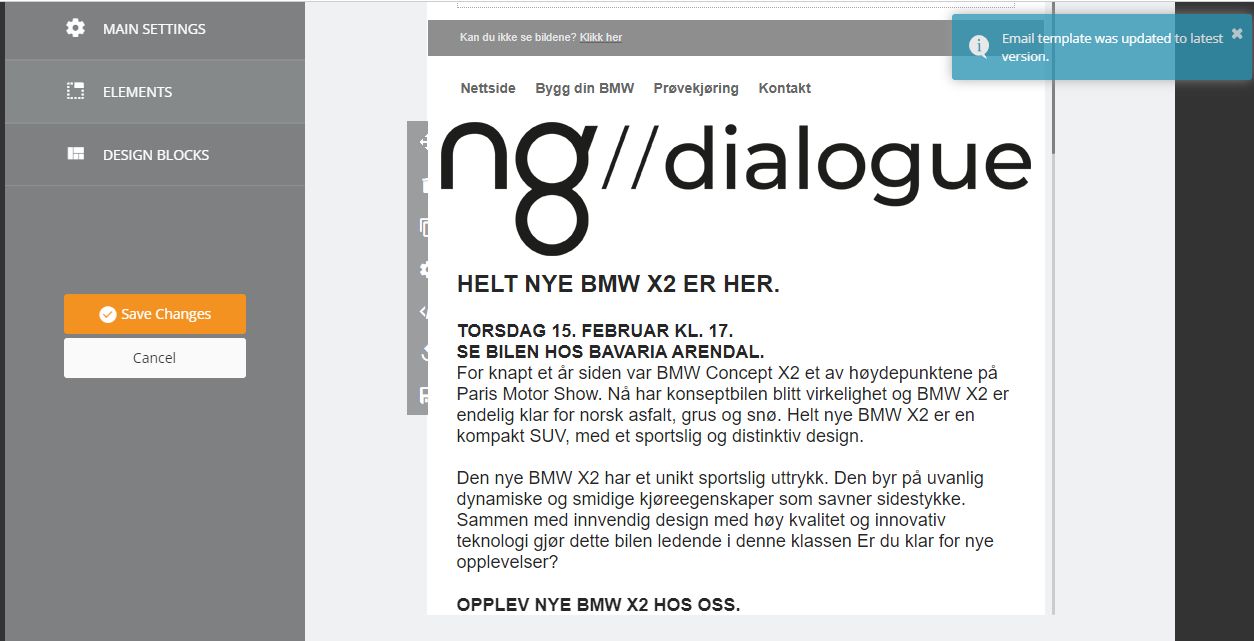
¶ Email Builder: Update popup
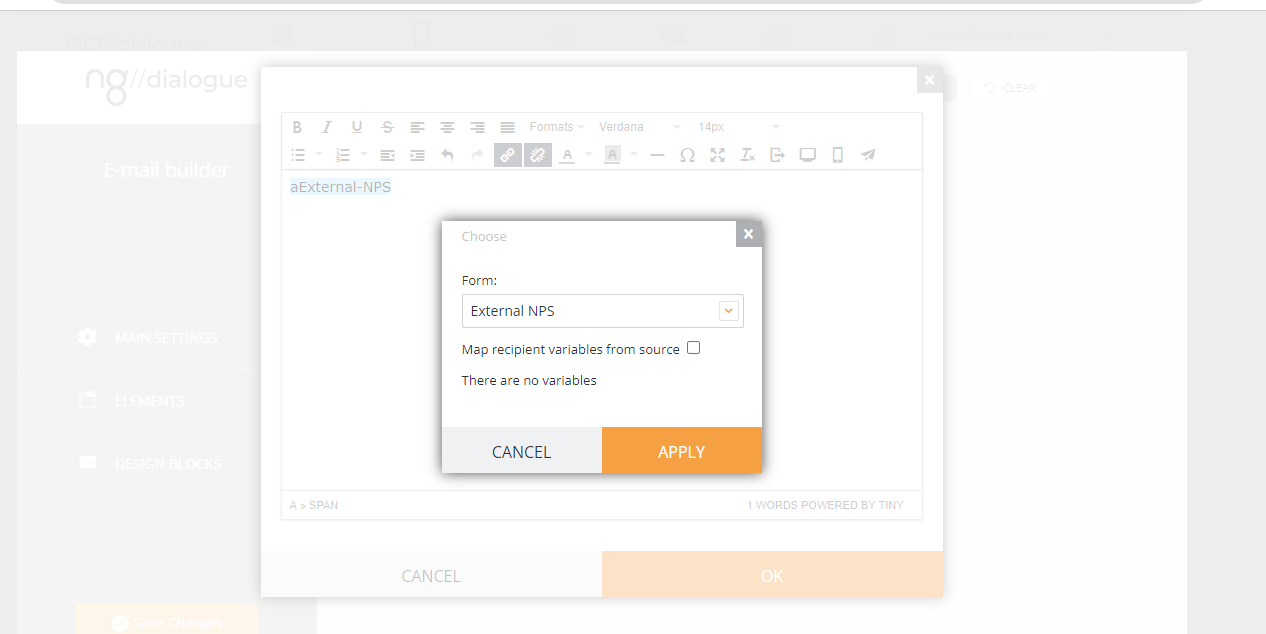
¶ Email Builder: How to add memberlink
Memberlink is needed to connect data we get when users post it (their rates, comments, phone number) and their record in the datasource (a table or a group of tables in our database) if one is used (it can be members datasource, NPS datasource or anonymous). If you are sending out using manual input or Excel, it is not needed.
To add a memberlink: you can add a landing page link and then add a member variable:?member=%%member%%

or after clicking Insert Landing Page link, click here OK

And here you need to click “map recipient variables from source”
The same can be done in Email builder, except you need to add a text block first, click “edit” and do the same:
NB! If the form on the landing page is NOT mapped to the same datasource you are using to send out the campaign, the system will NOT prompt you with “map recipient variables from the source” (unless you are using anonymous or external datasources, read more)
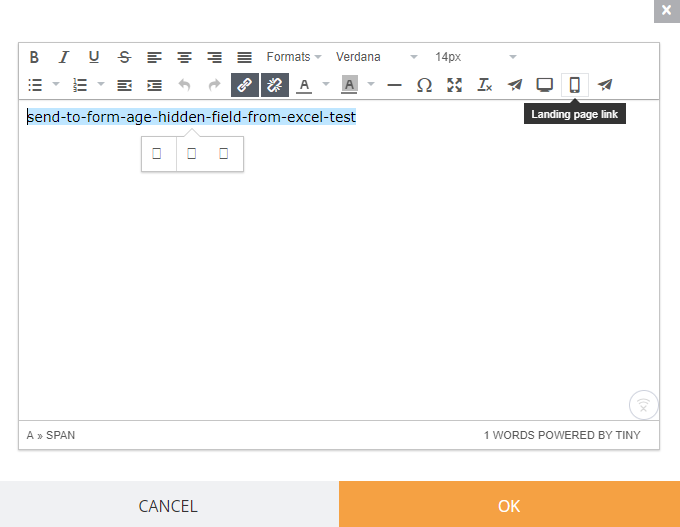
The link is generated. You can leave it in the text or copy and transfer it to use in a button.
NB! https://globalbeta.ngdialogue.no/commonnpsresponseaction/?member=%%member%% is a memberlink before it is processed by the system. Until it is done, the link is not active and unique. After the campaign has been sent out, the link will look like this and only then will a user be able to see all questions and posts:
¶ Email Builder: Click-to-email buttons and links
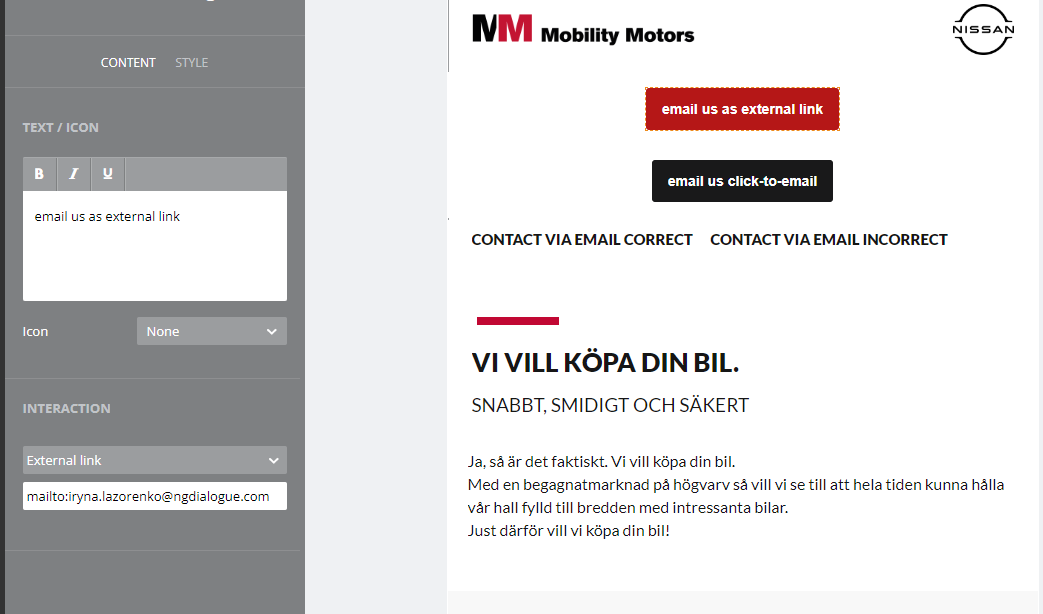
¶ Button
If it's a button, it can either be an external link, and you need to add a "mailto:" prefix or choose "click-to-email" button type and no prefix is needed.
.png)
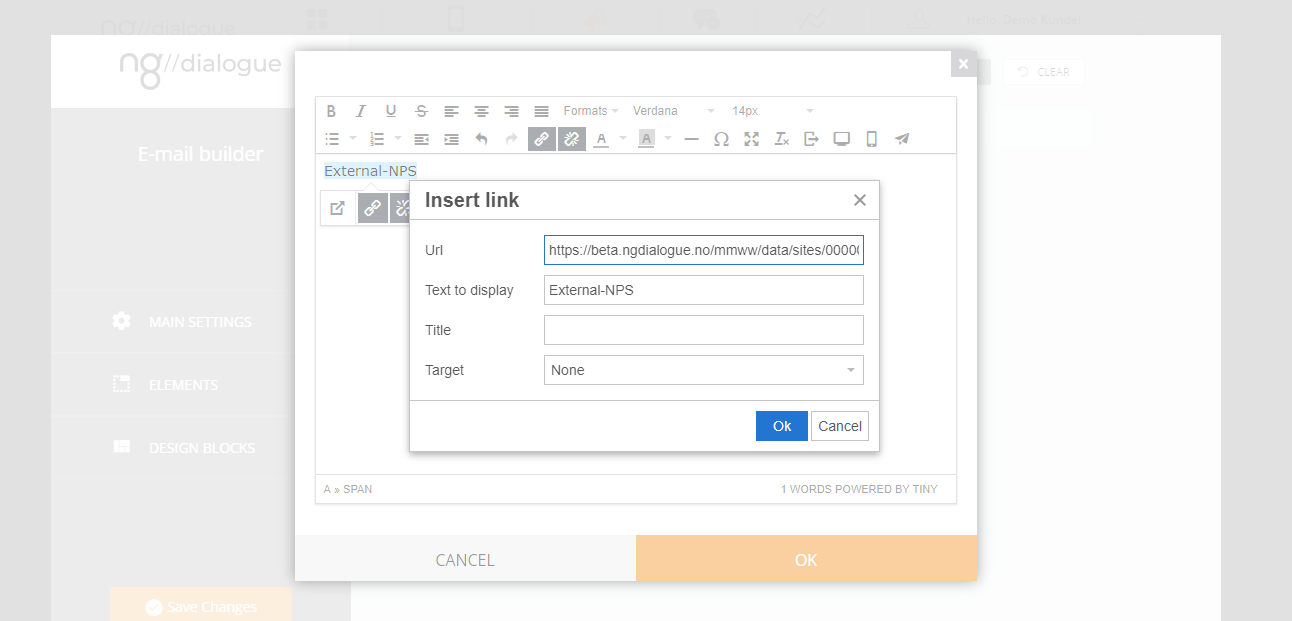
¶ Link
For text links, you can type the email address, and the system prompts you to add the prefix
.png)
.png)
¶ The reasons it may not work
The opening in Chrome as a new tab/window - this can be caused if you set up the button external link type and forget to add the prefix mailto: (the system does not prompt here, as we have a specific button type). In the case of the links, it happens when you click "cancel" and choose not to add the prefix. And in other cases, it may be connected to the settings of your device. But I cannot reproduce it as I don't know the settings of your Outlook.
¶ Unsubscribe Link
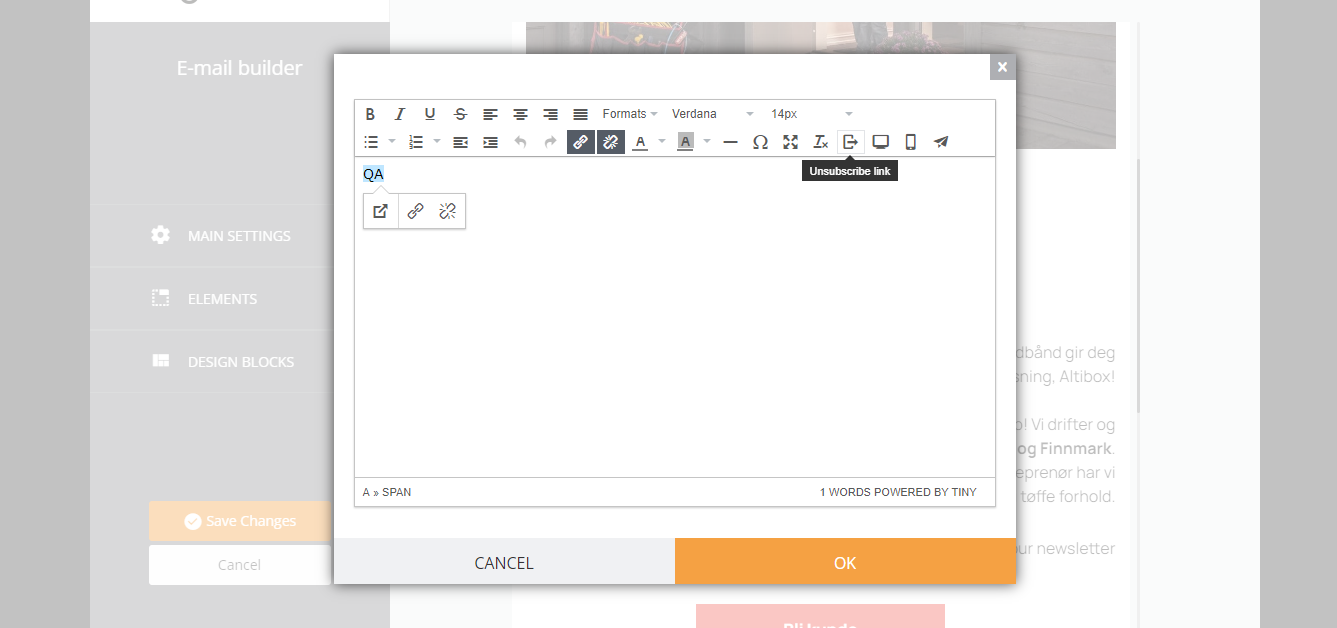
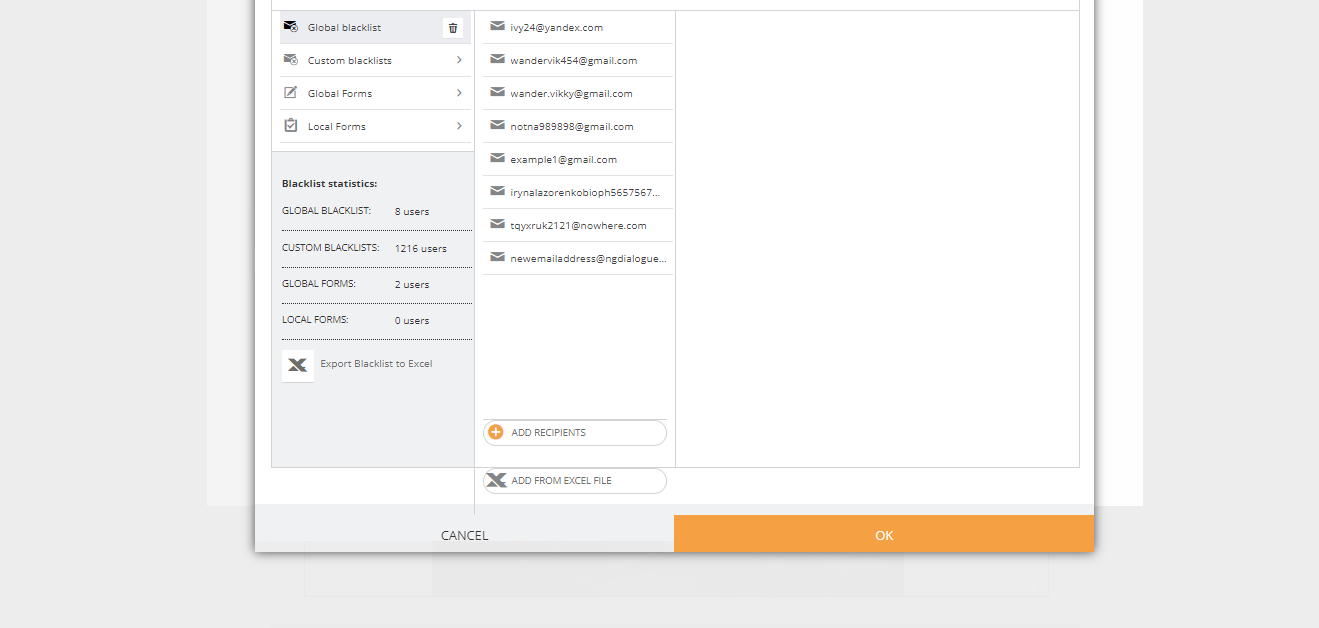
After clicking it, you are prompted to choose the blacklist (guide on blacklist).
Click OK after that and the link will be generated. When clicking the link (like that)
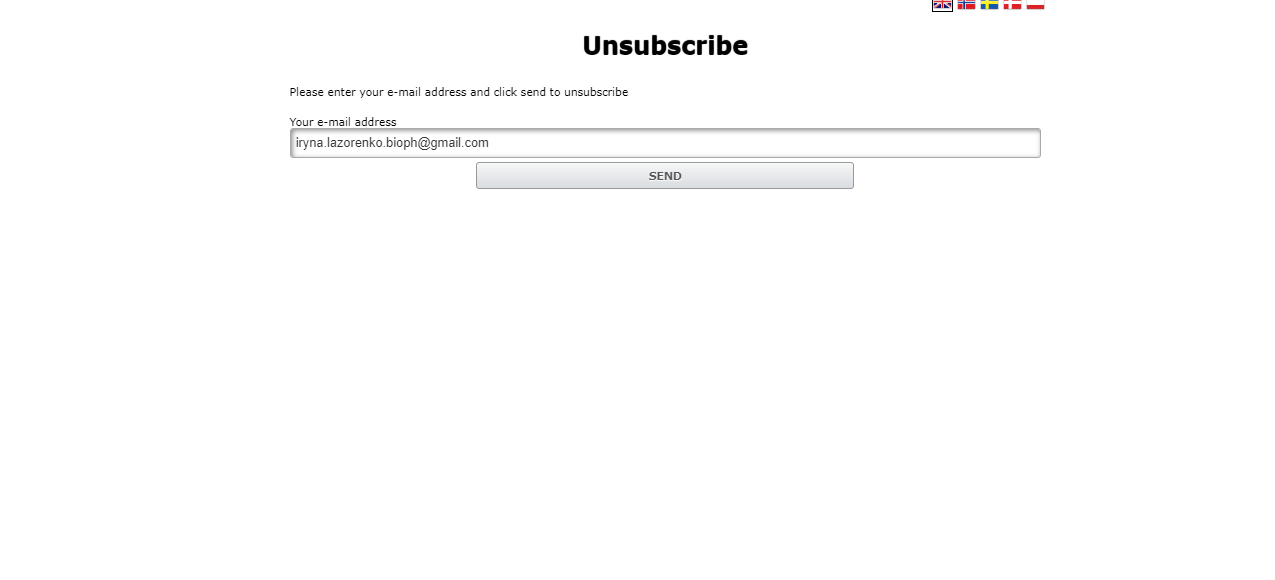
User will be offered to unsubscribe (their contact will get into the blacklist).
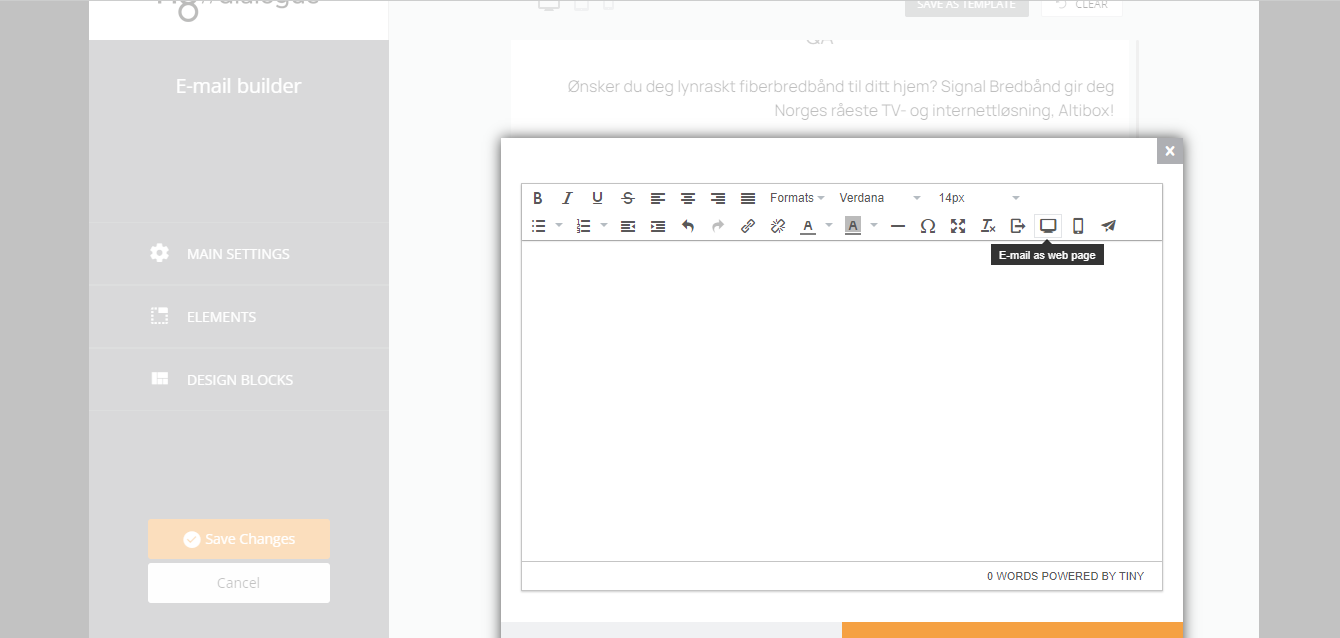
¶ Email Builder: See Email as a Web-Page
To get the email open as a link “Trouble viewing this message? Click here”, you can use this feature:
¶ Search and Sorting Tool
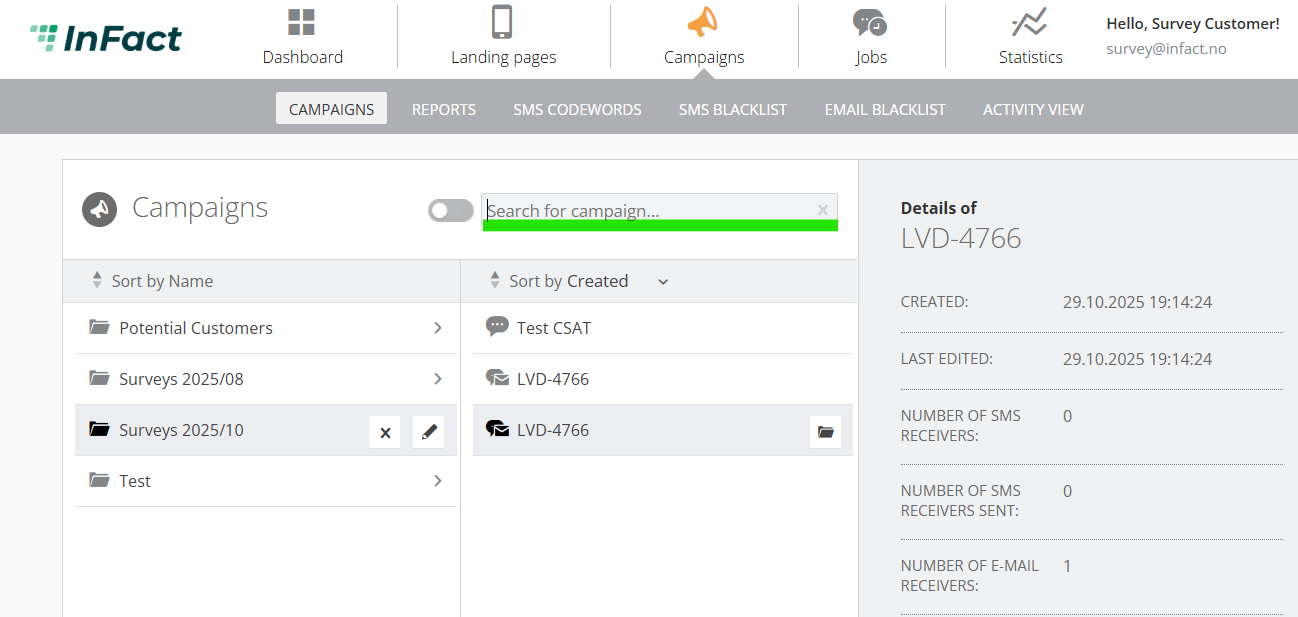
You can search for a campaign using its name or a part of the name:
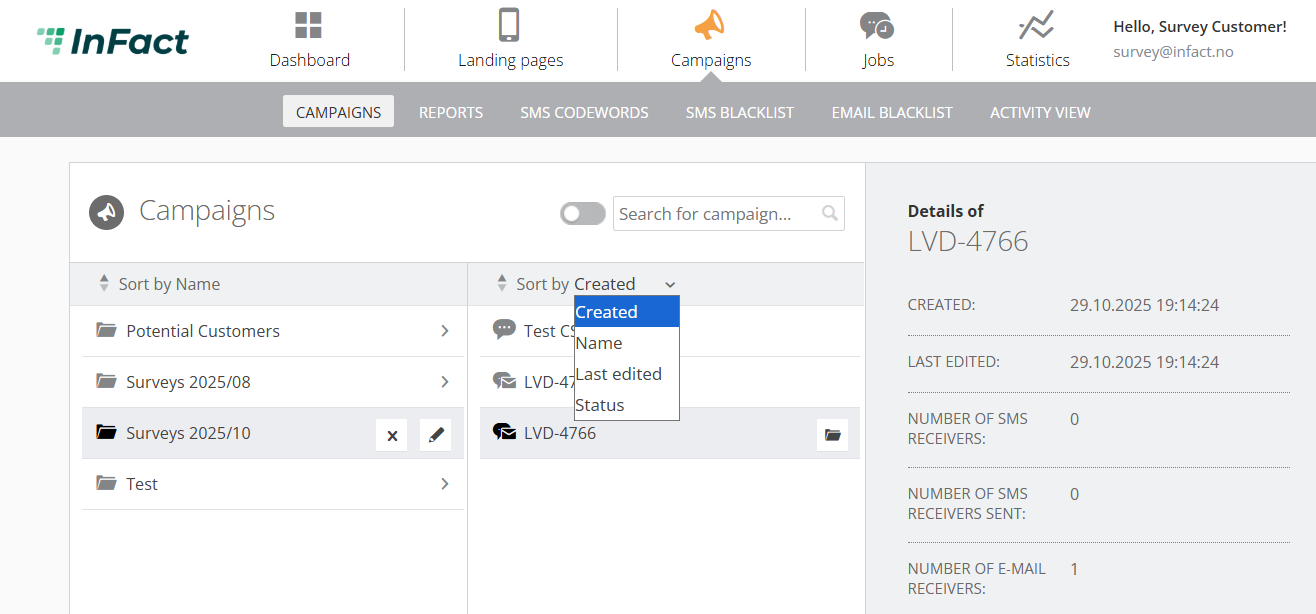
As well as sort by statuses:
Also, you can click on a campaign from Activity View, and you will be redirected:
To move, simply Drag & Drop: